
Before starting the installation, make sure to read the article - Base Station: Location requirements
Upon delivery, carefully inspect all components for any defects or transport damage. This includes checking the Base Station cabinet, cable insulation, and all other parts.
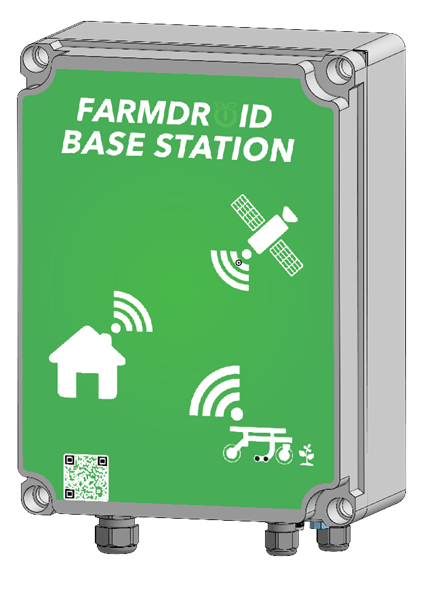
A complete Base Station kit contains:
- 1 x FD Base Station v3.0
- 1 x GNSS Antenna
- 1 x Antenna Cable, 10m
- 1 x Bracket for the GNSS Antenna (including bolts for mounting the antenna on the bracket)
NOTE 🙂
Bolts or screws for securing the antenna bracket to your chosen mounting surface are not included. It is the owner’s responsibility to select and use suitable fasteners appropriate for the surface and installation location.
1. ENABLE BATTERY BACKUP (UNINTERRUPTIBLE POWER SUPPLY)
The Base Station v3.0 supports battery backup to maintain operation in case of power interruptions, allowing 30–90 minutes of continued use before a controlled shutdown.
Enabling UPS functionality requires a compatible software version.
The battery compartment includes Battery Isolator Strips (see "1" in the image below) to prevent battery discharge and damage during shipping and storage. Remove all four strips to activate the UPS feature.

2. MOUNTING WALL BRACKETS
For wall mounting, use the supplied wall mount kit. Attach the stand-offs to the back of the Base Station with the included screws before installing it on the wall. Then, select appropriate screws suitable for your wall material to securely fix the unit in place (note: wall screws are not included in the box).
3. MOUNTING THE GNSS ANTENNA CABLE
The correct installation point for the antenna cable is shown in the diagram below. Make sure to tighten the connection securely to prevent poor connections and possible signal interference.

STATUS LED (no. 5 in the image above): Indicator for Base Station Operation and Diagnostics
|
Use Case |
LED Color |
LED Pattern |
|
STM in bootloader mode |
🔴 |
Constant on |
|
STM crashed |
🔴 |
Fast flashing (0.5s on, 0.5s off) |
|
STM starting up |
Off |
|
|
STM OK, waiting for APP |
🟡 |
Fast flashing (0.5s on, 0.5s off) |
|
Powering down |
🟡 |
Constant on |
|
No connection to Internet |
🟢 + 🔵 |
Slow flashing (1s on, 1s off) |
|
STM and APP OK, active alarm |
🟢 + 🔴 |
Slow flashing (1s on, 1s off) |
|
STM and APP OK, active warning |
🟢 + 🟡 |
Slow flashing (1s on, 1s off) |
|
STM and APP OK, no NTRIP clients |
🟢 |
Fading (1s on, 1s off) |
|
STM and APP OK, connected NTRIP clients |
🟢 |
Constant on |
4. MOUNTING THE EXTERNAL GSM ANTENNA (OPTIONAL)
If GSM signal is weak in your area, you can install an external GSM antenna using the pre-installed gland underneath the Base Station (see point "3" in the diagram). After installing the cable, ensure the gland is properly tightened to prevent water from entering.
5. POWERING THE BASE STATION
- Keep the area clear and maintain a minimum distance of 0.5 meters from the Base Station. If local regulations require a greater safety distance for working on or near live low-voltage equipment, always follow those requirements.
Plug in the 230 V power supply while remaining at a safe distance. - Wait for STATUS LED to turn green. This typically takes 3–5 minutes, but may take up to 45 minutes in areas with poor GSM or GNSS conditions.
- After mounting and powering up the Base Station, it will need to be assigned a fixed GPS position. Please contact your distributor to register the Base Station’s GPS location and configure the connection (tunnel) between the base station and the robot.