104010003 - Dual Front Wheel Retrofit Package
Step by step guide
In this guide, we will go through all the steps to convert a robot from an existing 3-wheel robot with the passive front wheel, into a 4-wheel version by installing the Dual Front Wheel retrofit package.
Tools needed
To complete this guide you will need the following tools:- A set of spanner or ratcheting socket wrench
- A drill, including small diameter metal drill bits
- A dynamometric socket wrench able to reach 30, 50 and 102NM of torque
- Loctite 243
Additional material:
- Two square wooden blocks, approximately 30cm tall
STEP BY STEP GUIDE
STEP 1
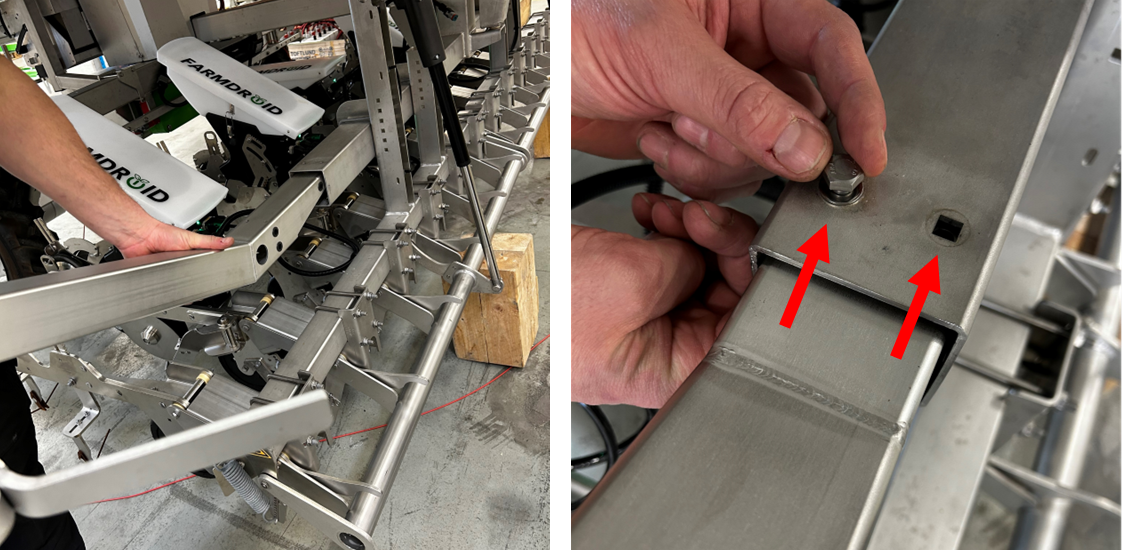
Raise the hitch beam so that you get enough space to place two wooden blocks right underneath the actuators of the tool beam (see image below).
Now lower the hitch beam until the front wheel of the robot lifts off the ground.

STEP 2
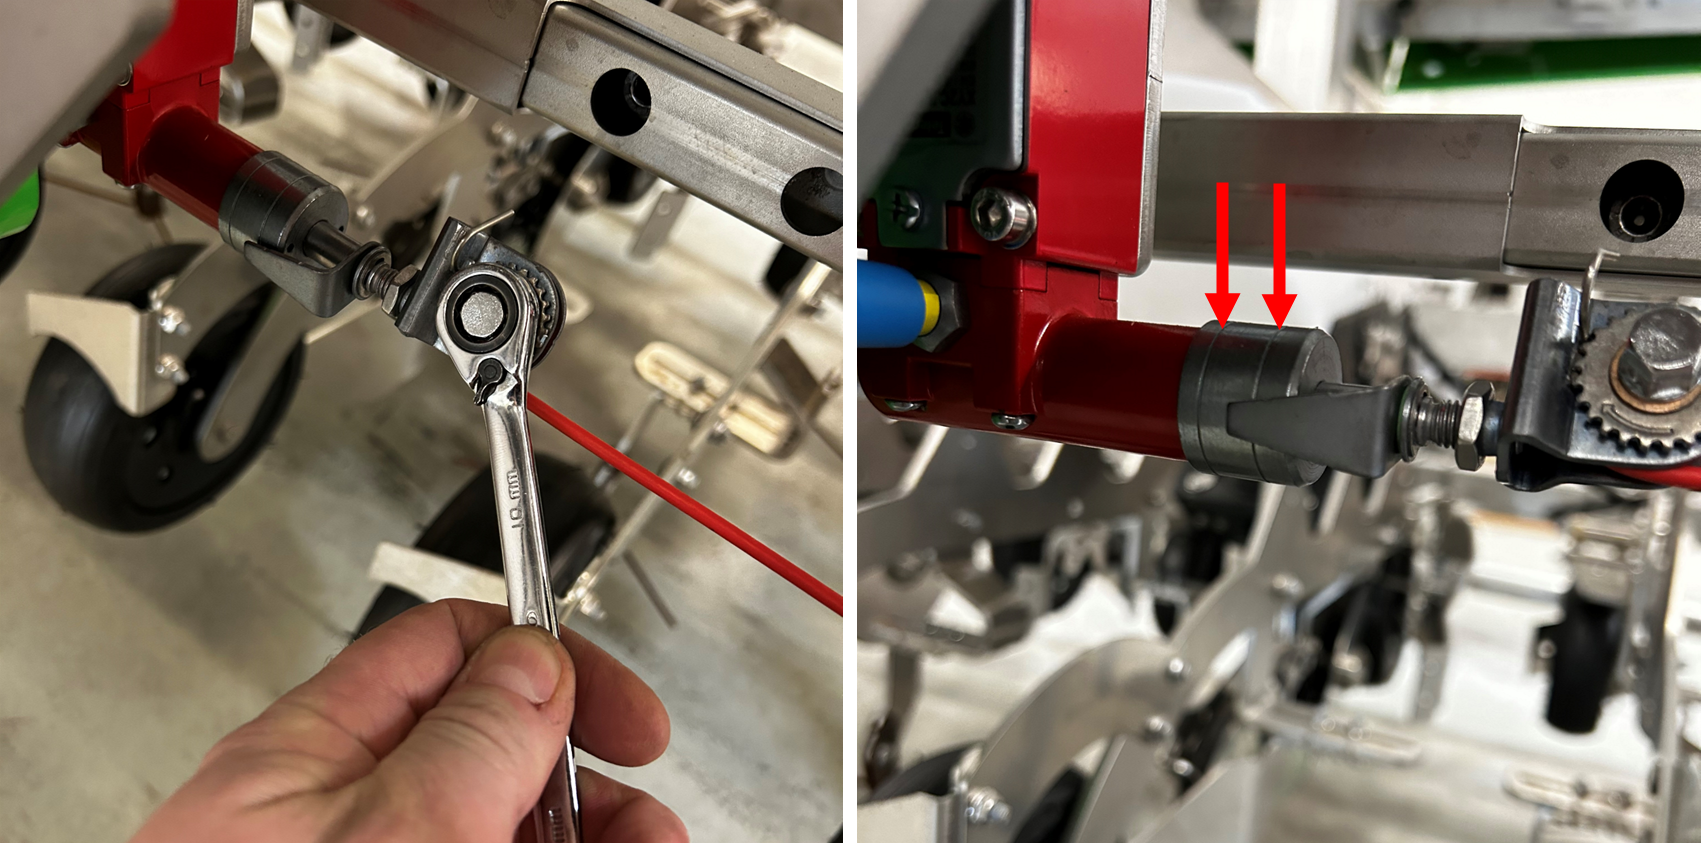
Release the red safety wire from the front safety arm assembly and leave it on the ground.

STEP 3
Remove the four rivets which hold the black plugs at each end of the robot’s front main frame. Use a small diameter metal drill bit to complete the step.

STEP 4
Remove the bolts holding the left and right front safety bars. There are eight bolts in total, four per each side of the robot.

STEP 5
Remove the left and right front safety bars by sliding them out of the frame.

STEP 6
Remove the passive front wheel by removing the locking pin, as well as the upper and lower mounting bolts.
Make sure to get another person to help you sustain the front wheel assembly, else you risk of bending the bolts.

STEP 7
Mount the dual front wheel boom assembly. Apply Loctite 243 on the thread of the mounting rod.

STEP 8
Tighten the top and bottom bolts with a torque wrench set at 102NM

STEP 9
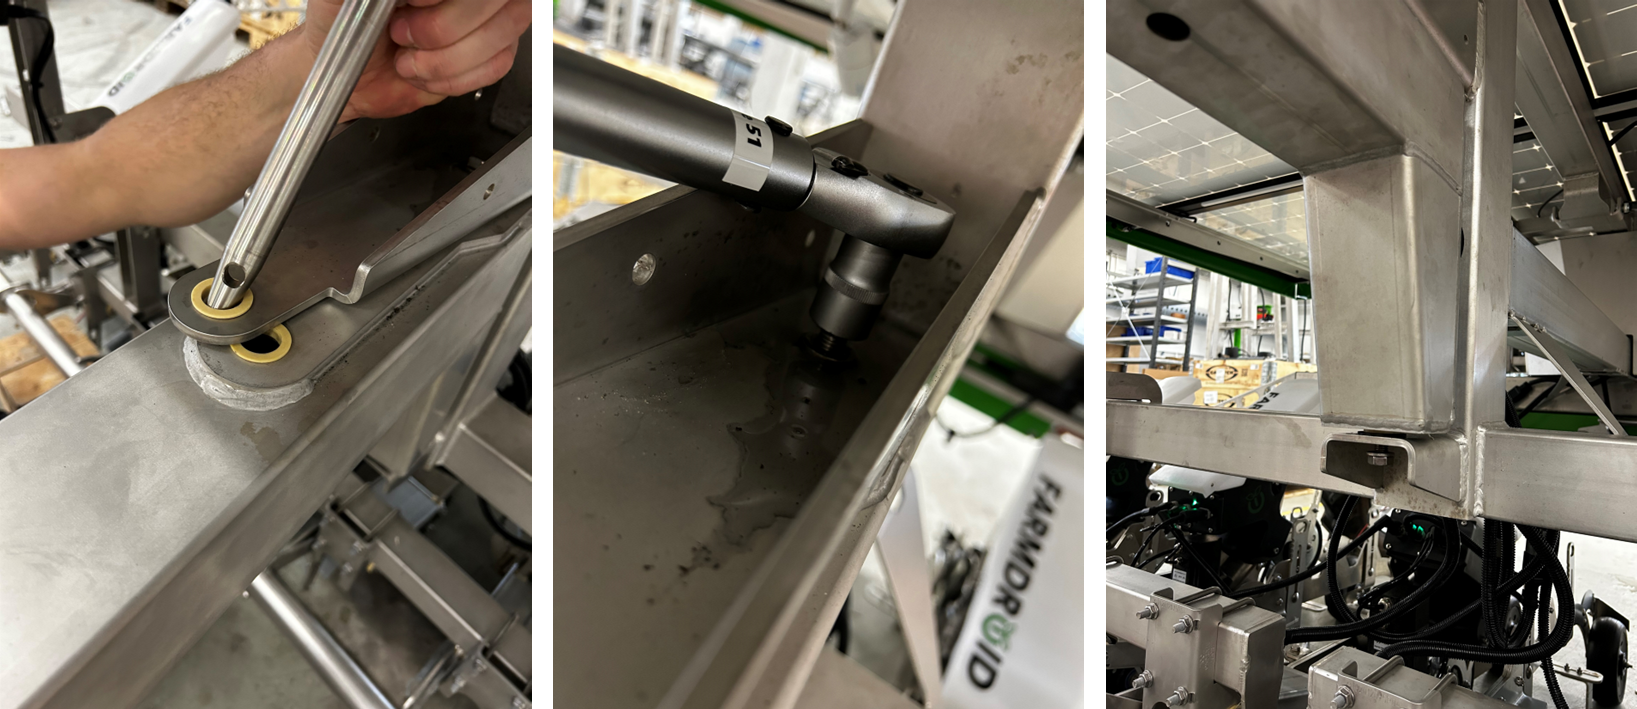
Remove the sleeve bushing in the upper receiver-arm of the main frame

STEP 10
Mount the newly received dual-front-wheel support locking pin.
Please note that the bushings shown in the picture NEED to be REMOVED.

STEP 11
Mount each of the two front wheel according to the configuration's wheel base. Please mind that both front wheels must be equally distant from the centre of the boom.

STEP 12
Secure the two front wheel assemblies with two bolts for each side.
The bolts must be tighten at 50NM torque.

STEP 13
Assemble the new safety bars by sliding them INTO the frame, then secure it by using the two TOP bolts and tightening them at 30NM torque.
It is important NOT to start with the bottom bolts.

STEP 14
Mount and secure the two bottom bolts as well. Tighten them at 30NM torque as well.

STEP 15
Mount the front safety arm and secure it with a bolt

STEP 16
Attach and secure new safety wire. Please wait to do the final tightening.

STEP 17
Guide the wire through the safety bars system

STEP 18
Tighten safety wire in both start and end position until marker is between lines.

STEP 19
Remove all tools and parts from the working area before lowering robot
STEP 20
Use the locking mechanism on each front wheels to free the rotation of the forks on their vertical axis

STEP 21
Unlock the boom of the dual front wheel by moving the pin from the locked position (red side of the sticker) to the unlocked position (green side of the sticker). This will allow the front boom to move according to the terrain surface.

STEP 22
Lower the robot on the ground by raising the hitch
STEP 23
The robot is now ready for use with the dual front wheel setup
