In this guide, we are going through the steps to install the new seeding system with height adjustment for the discs.
The tools needed for this process are:
- 13 mm socket wrench
- 10 mm socket wrench
- 8 mm socket wrench
- 6 Allen wrench
- 5 Allen wrench
STEP 1
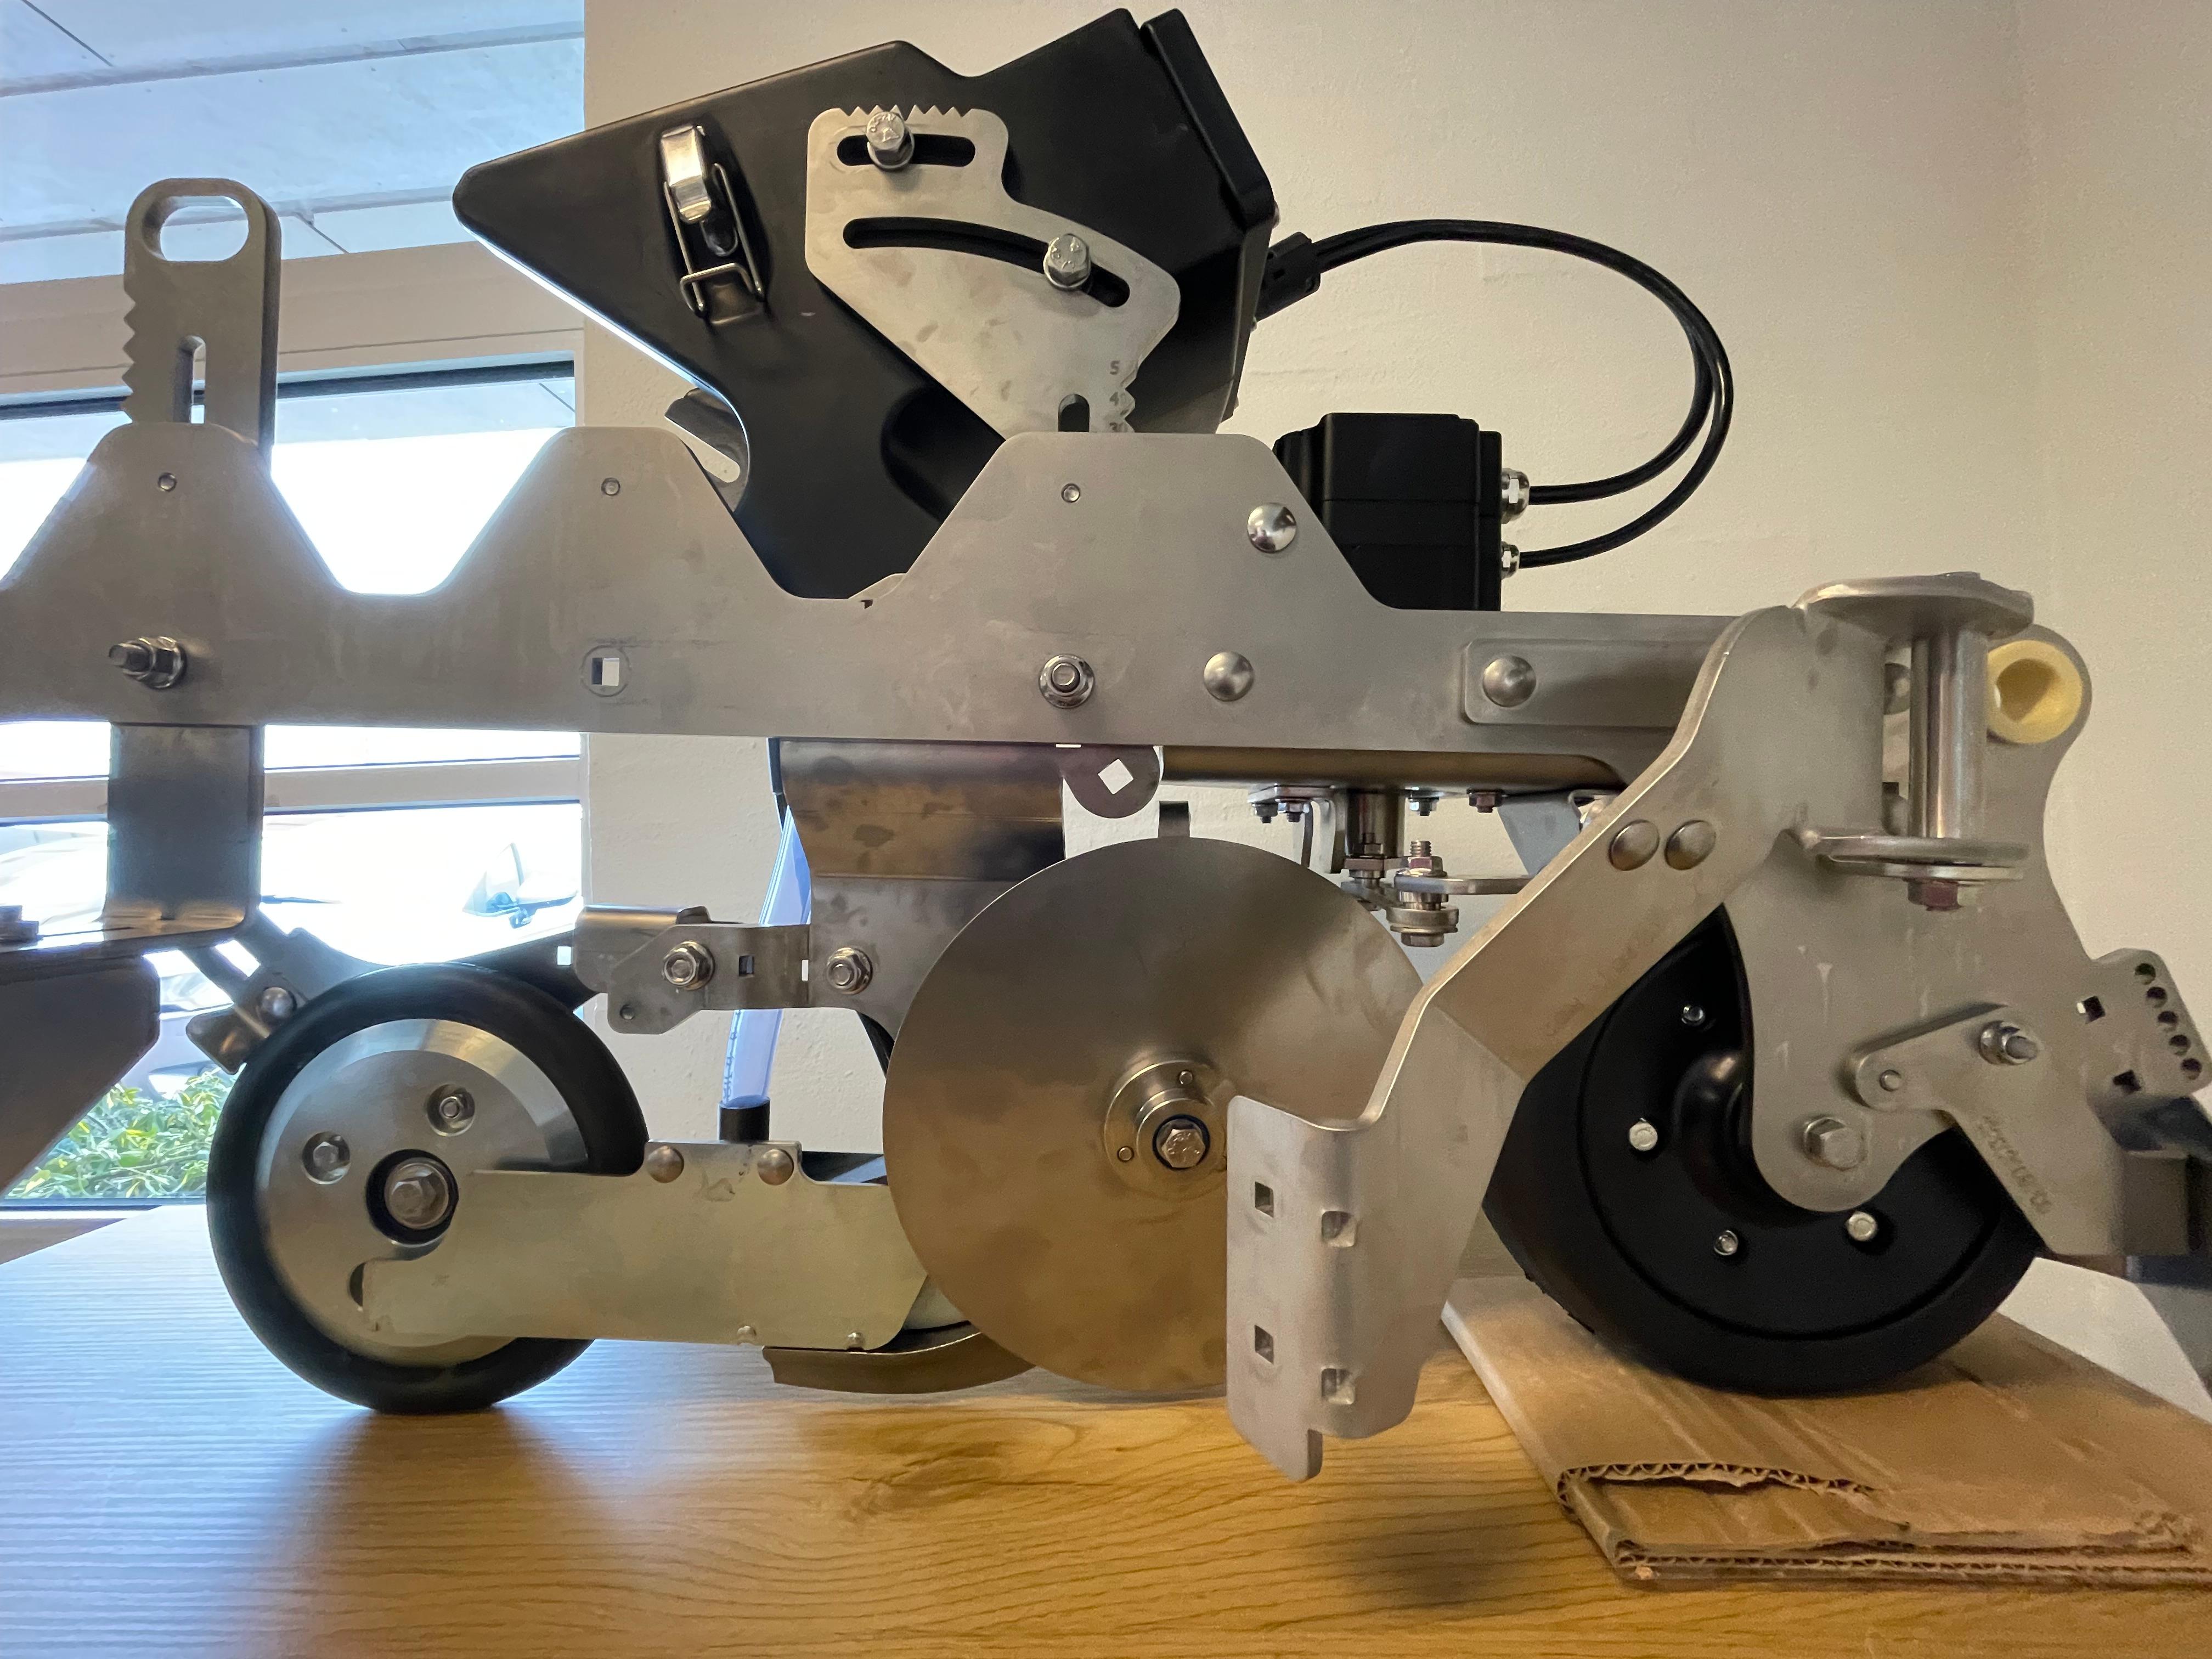
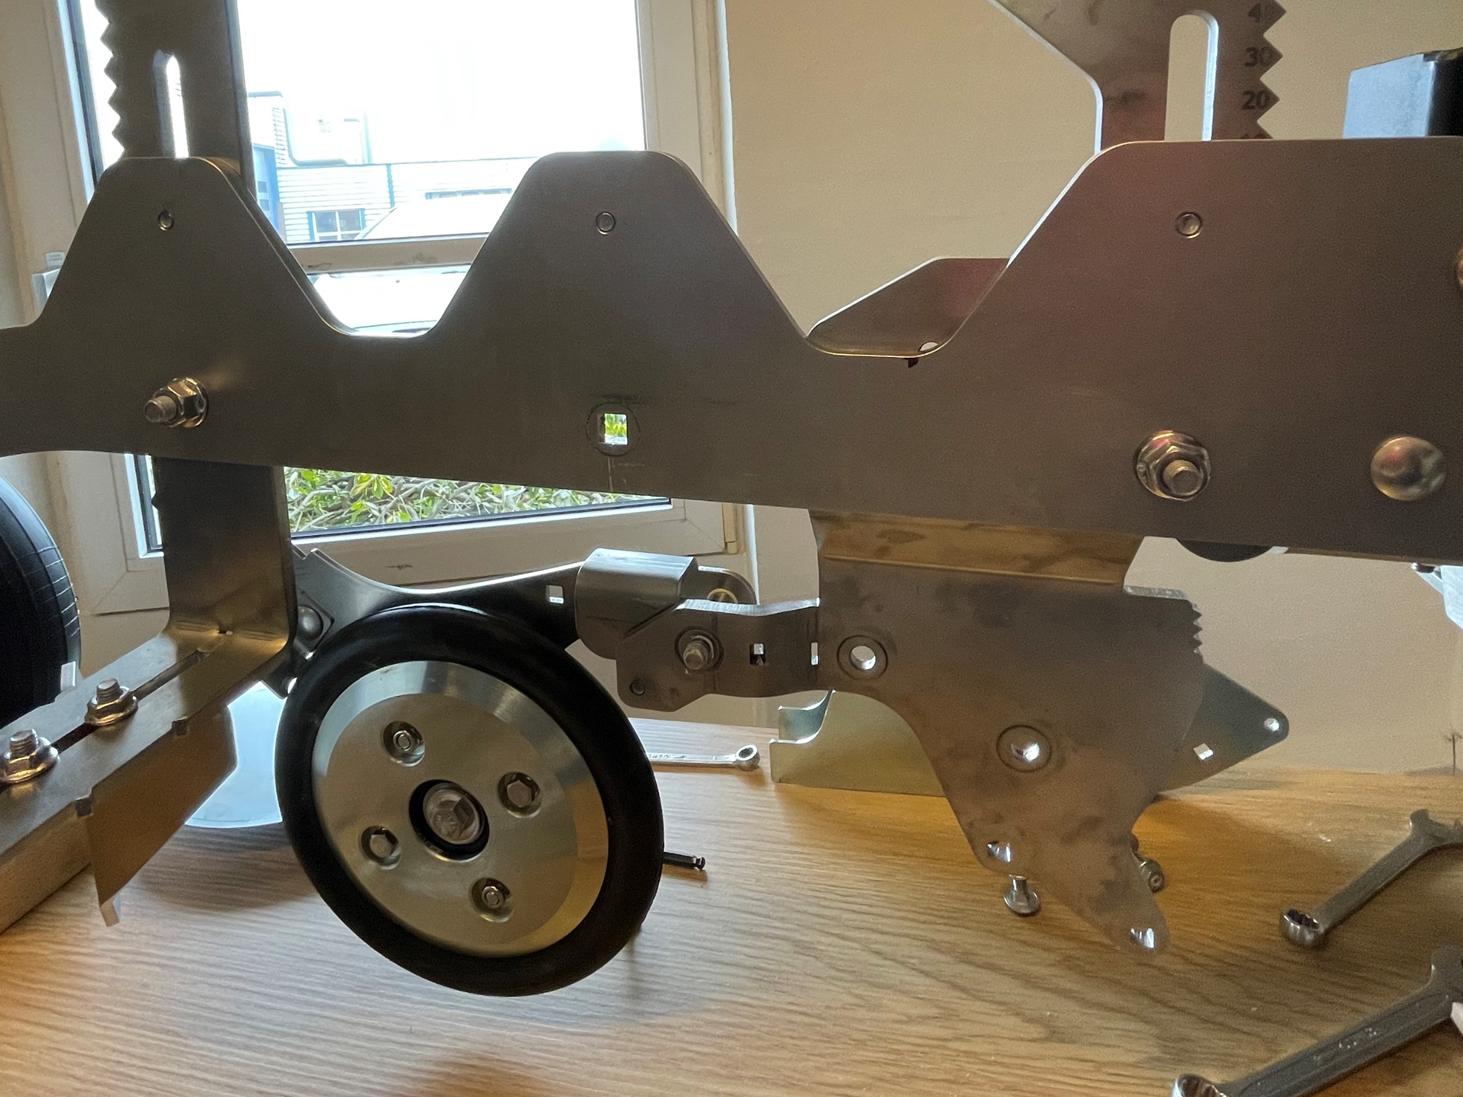
unmount from the active trailer the whole sowing arm assembly, so that the trailer looks like in the following picture
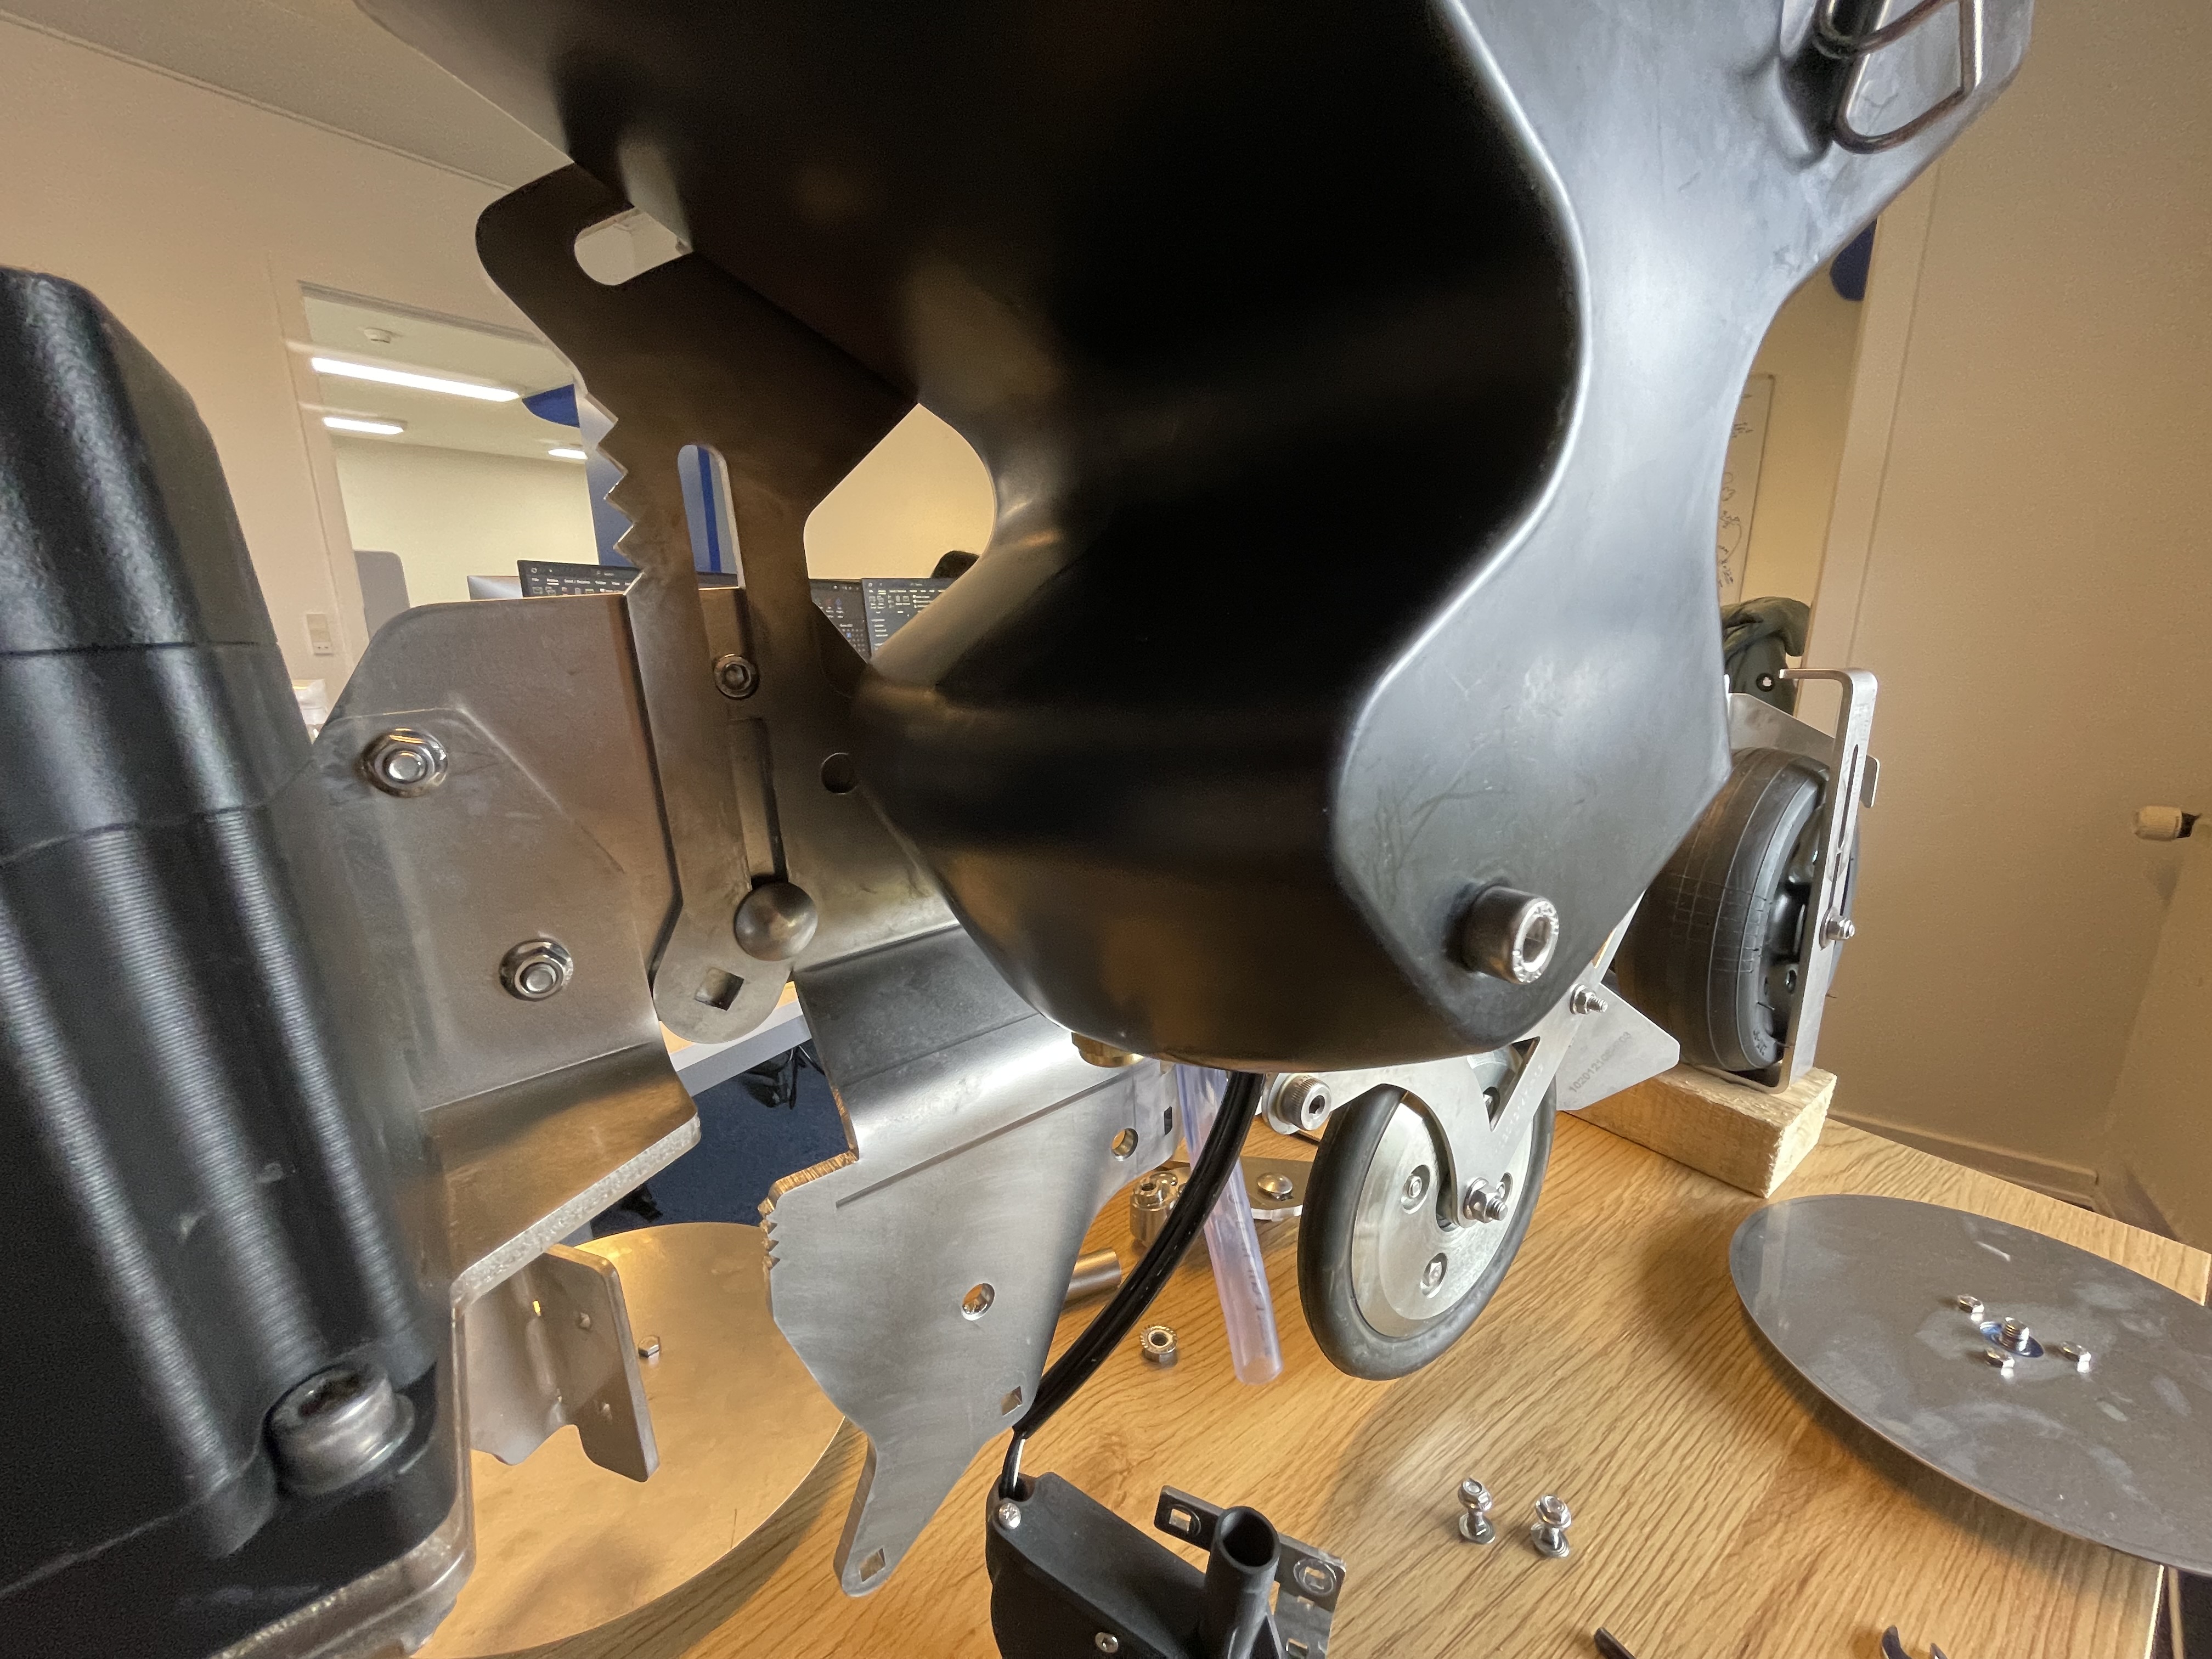
STEP 2
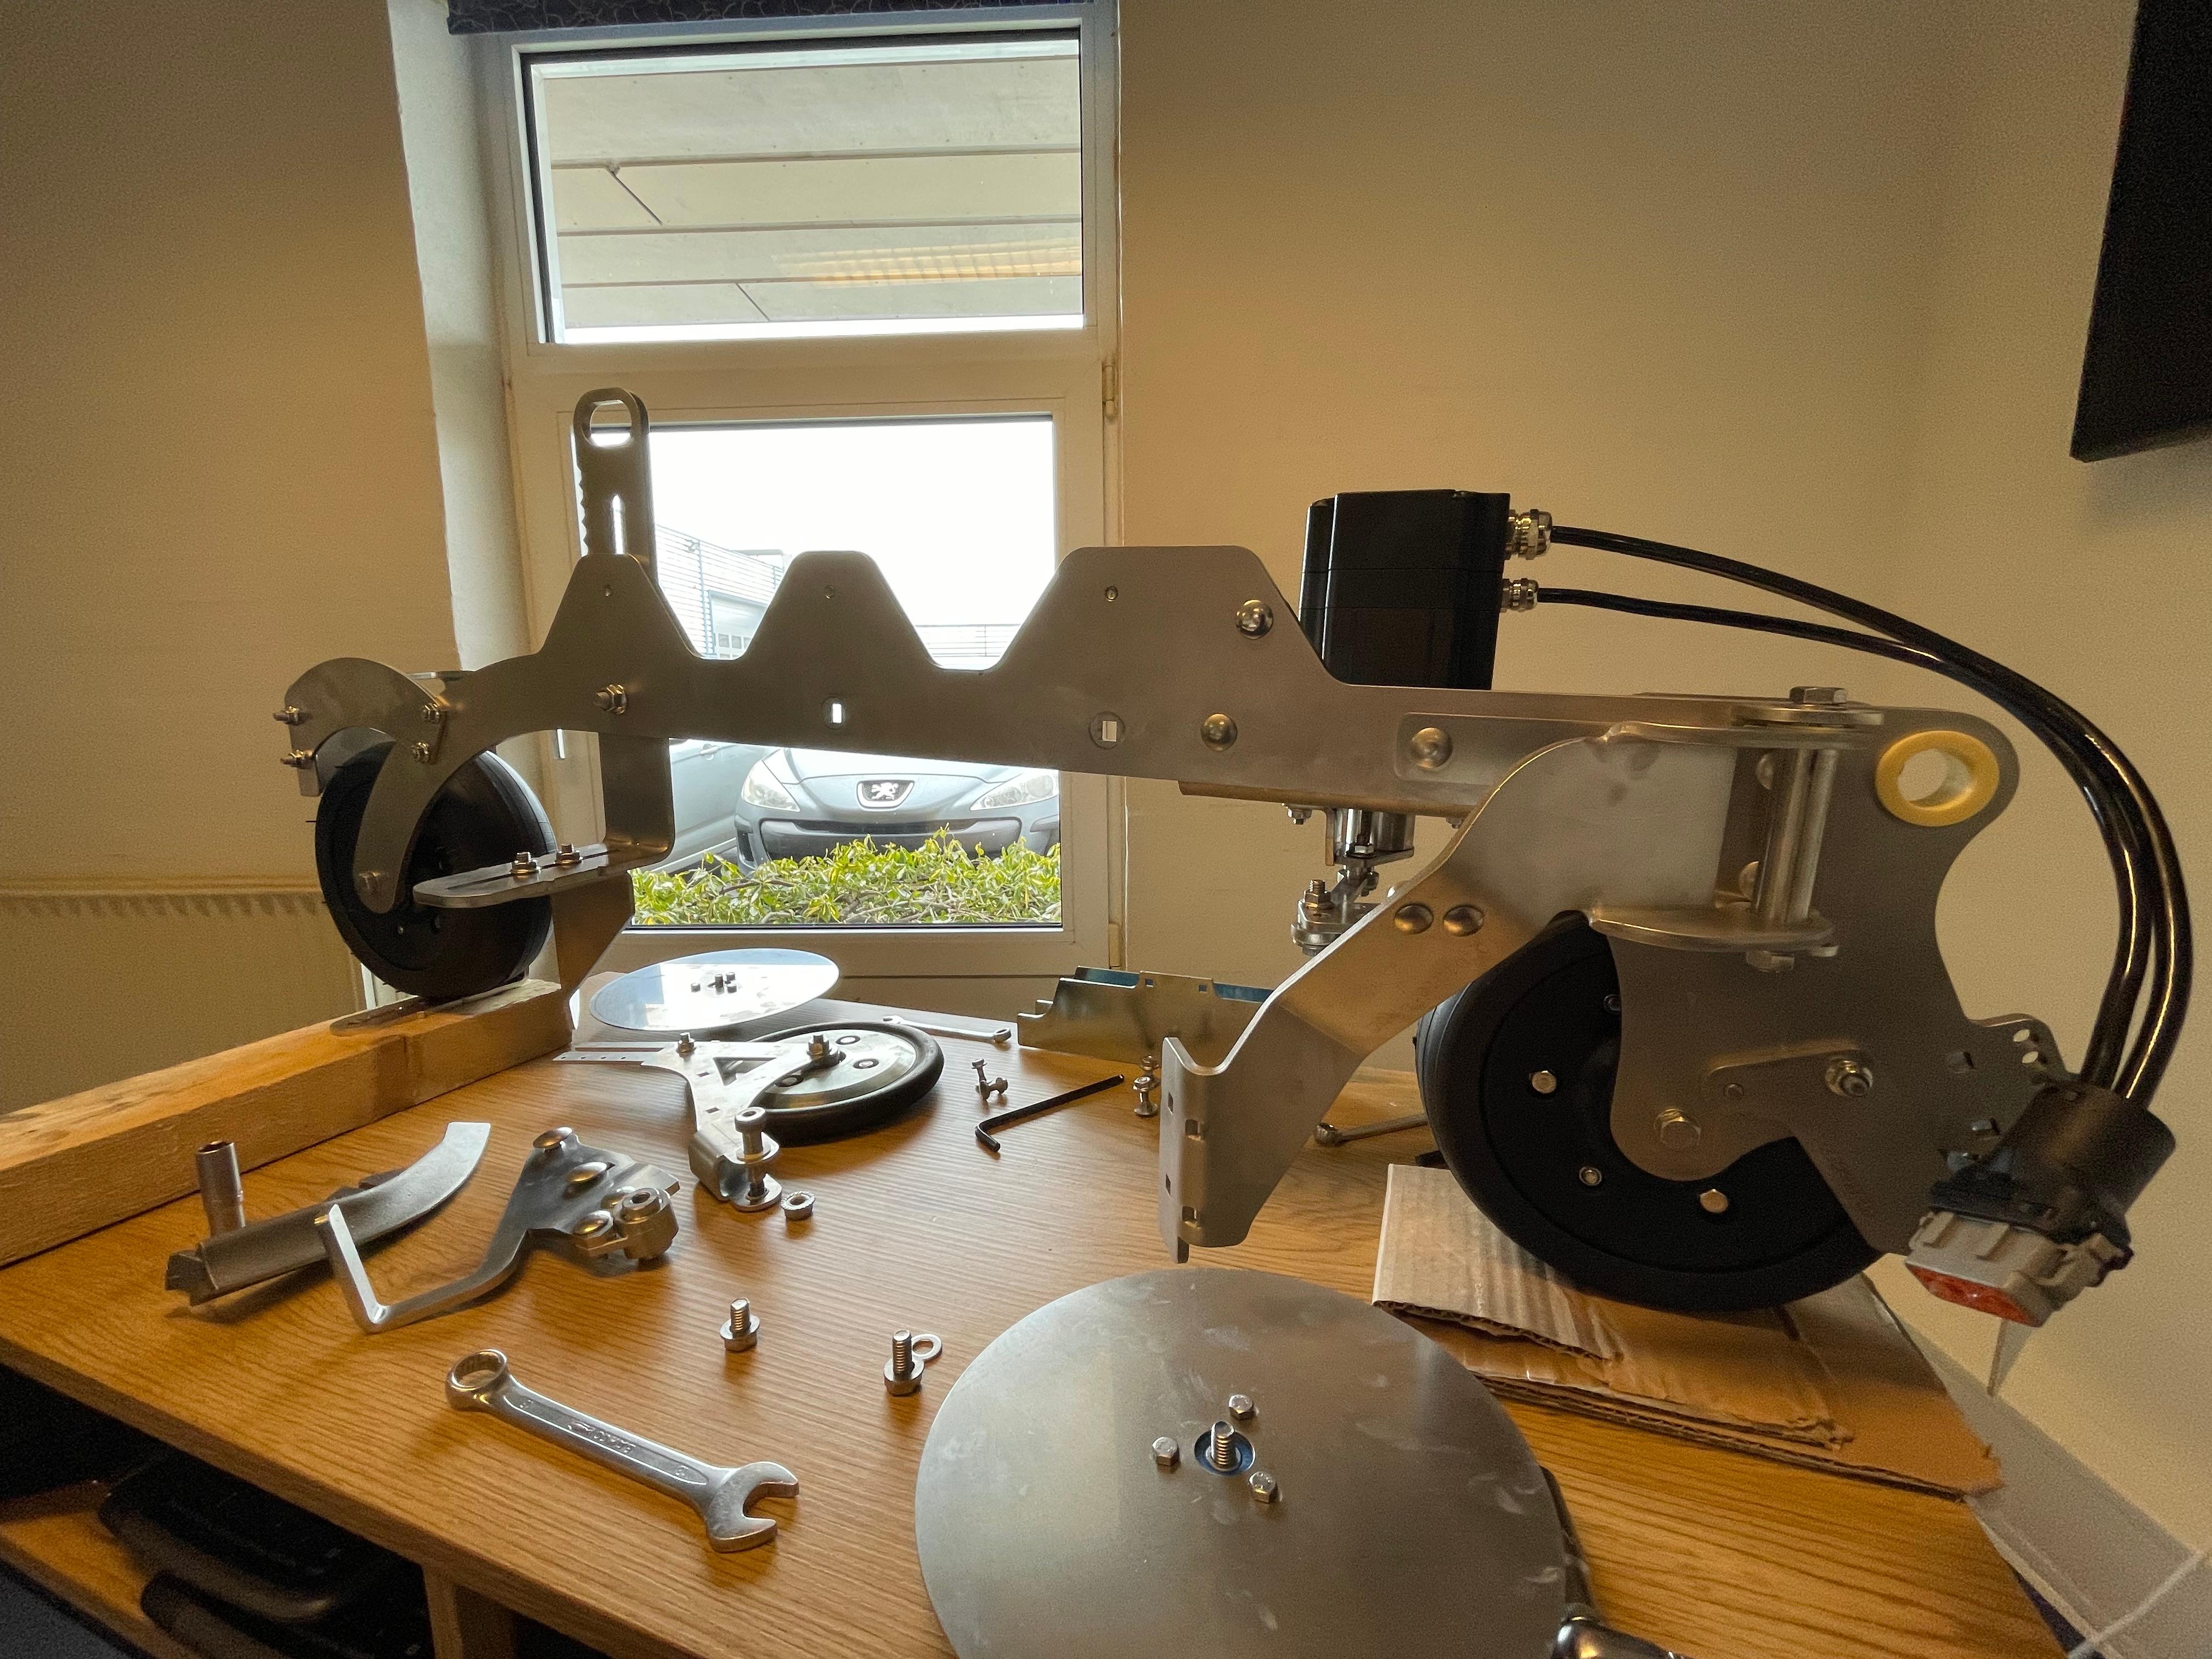
Then, take the new sowing arm and install it in place, so that it matches the images below

Right view of the new sowing arm installed on the trailer
STEP 3
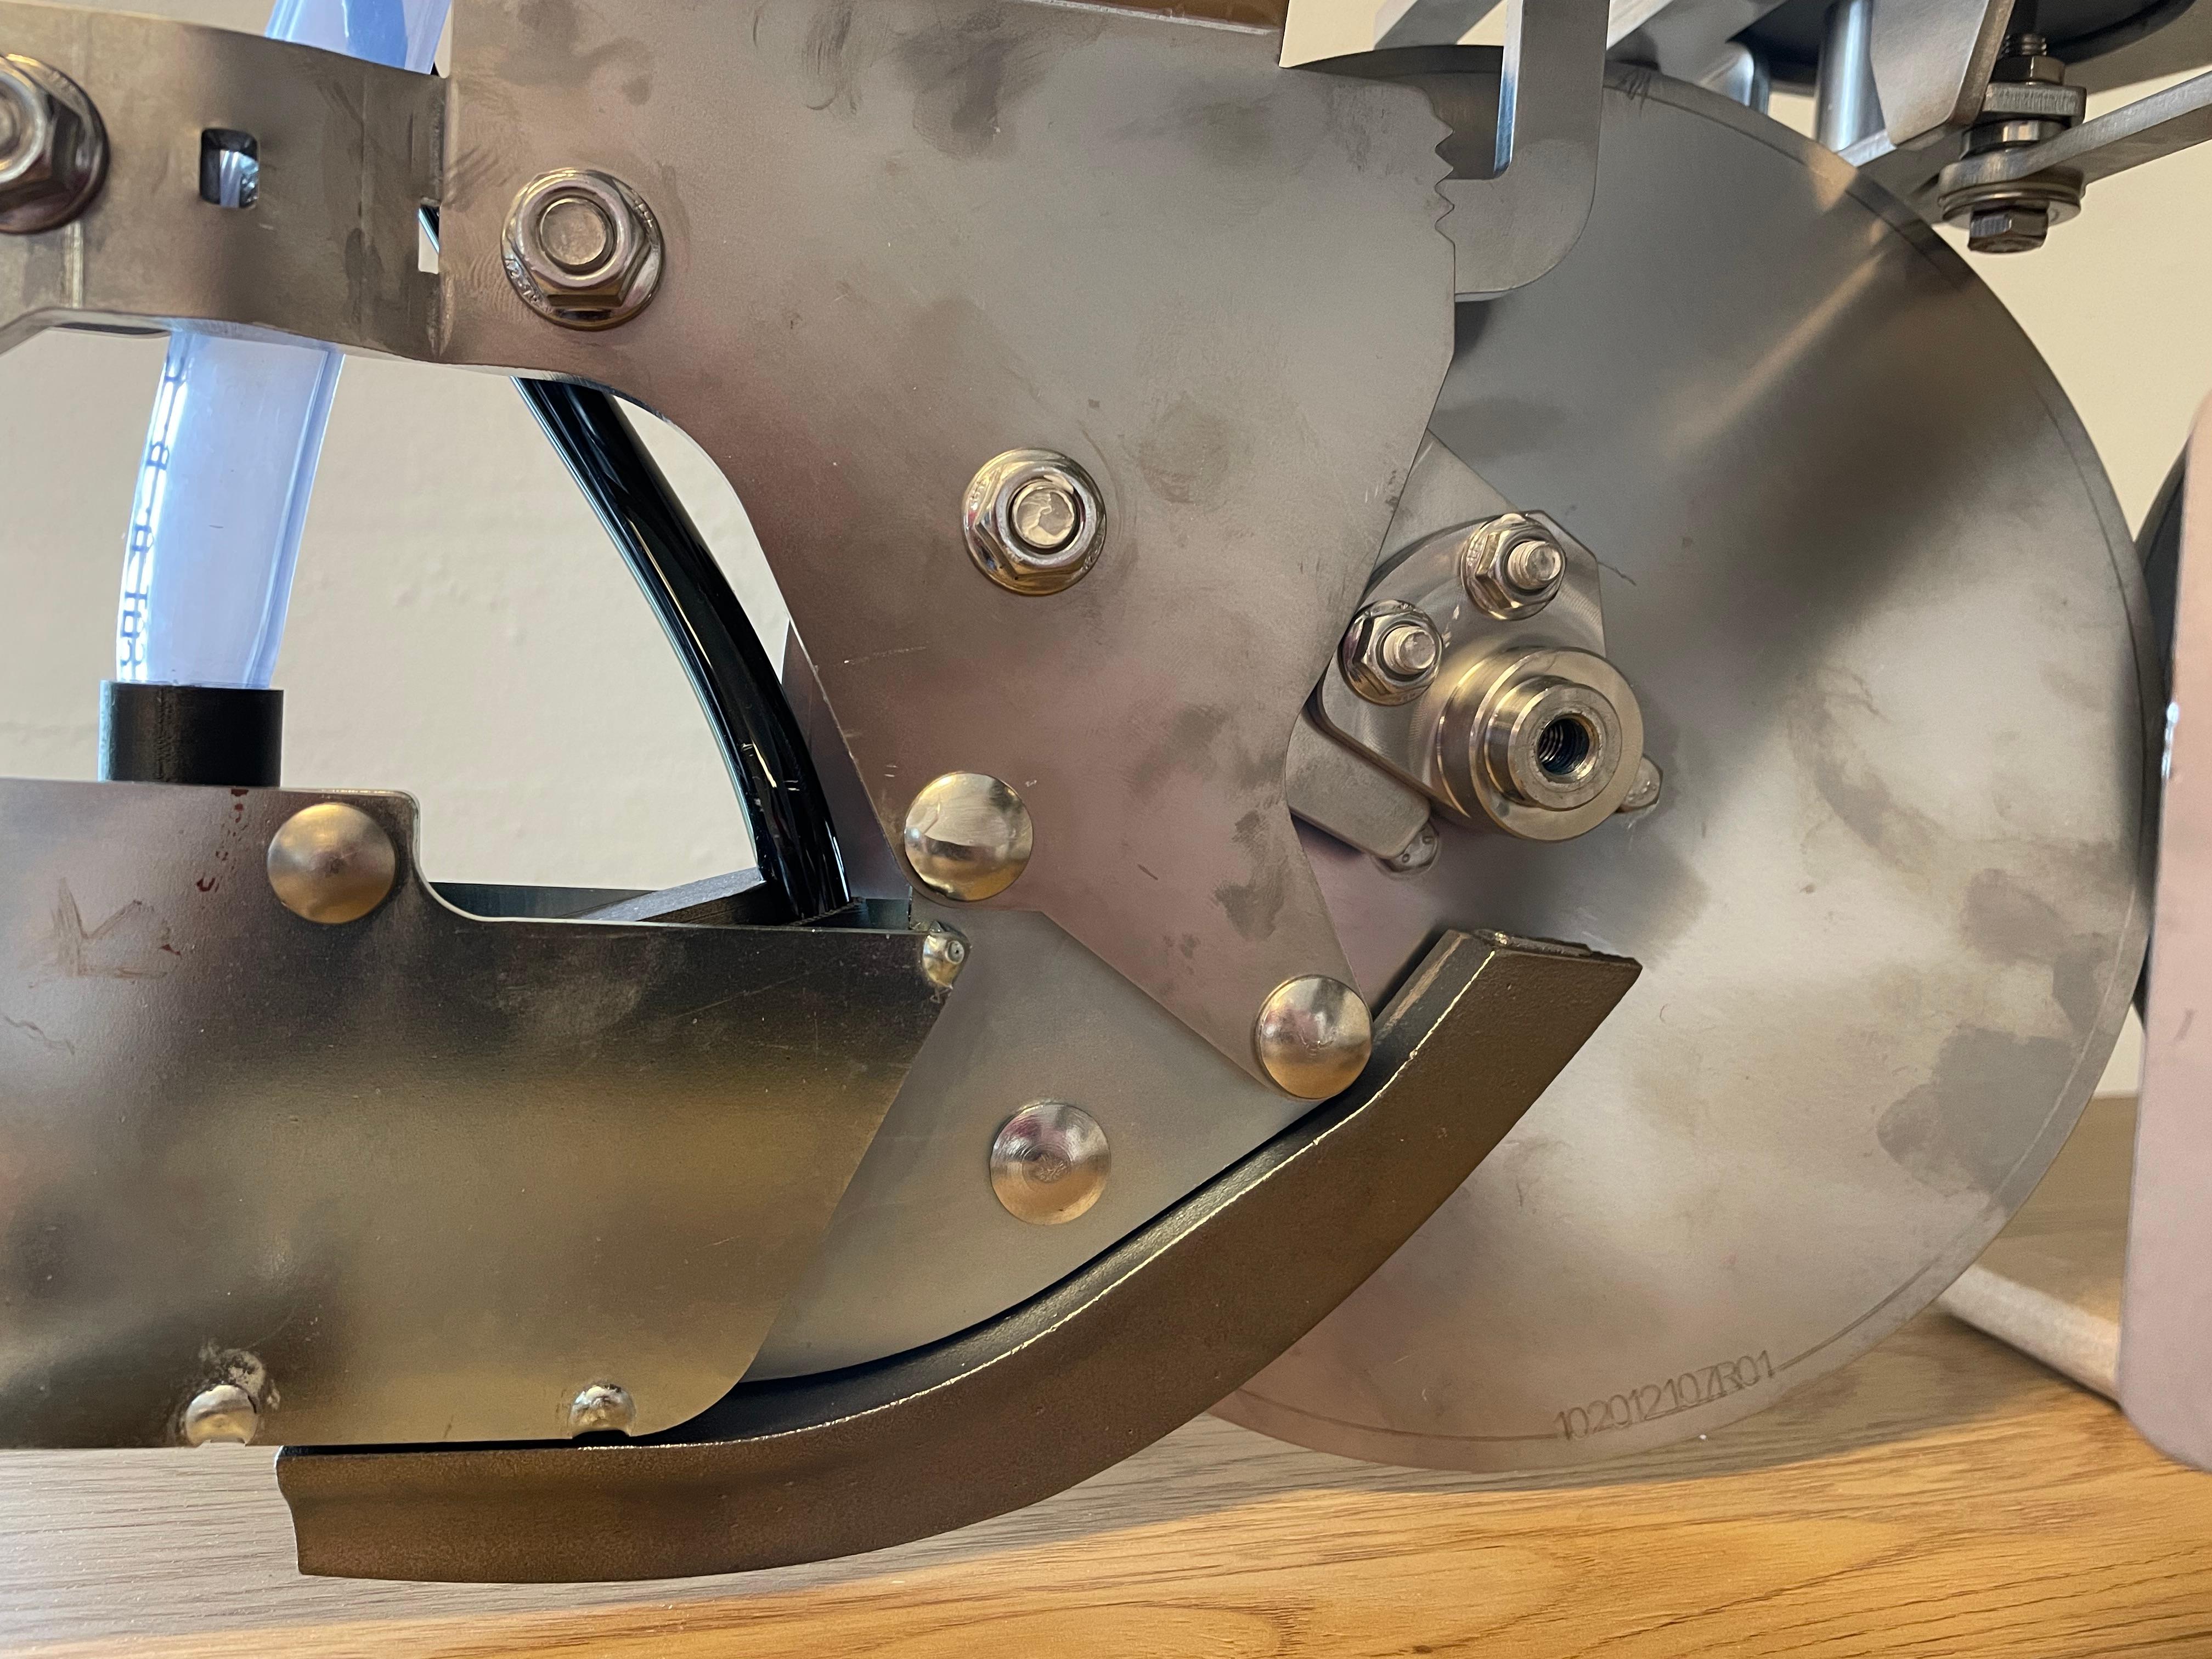
Secure the seed pressure wheel assembly to the sowing arm using a 5 mm Allen wrench
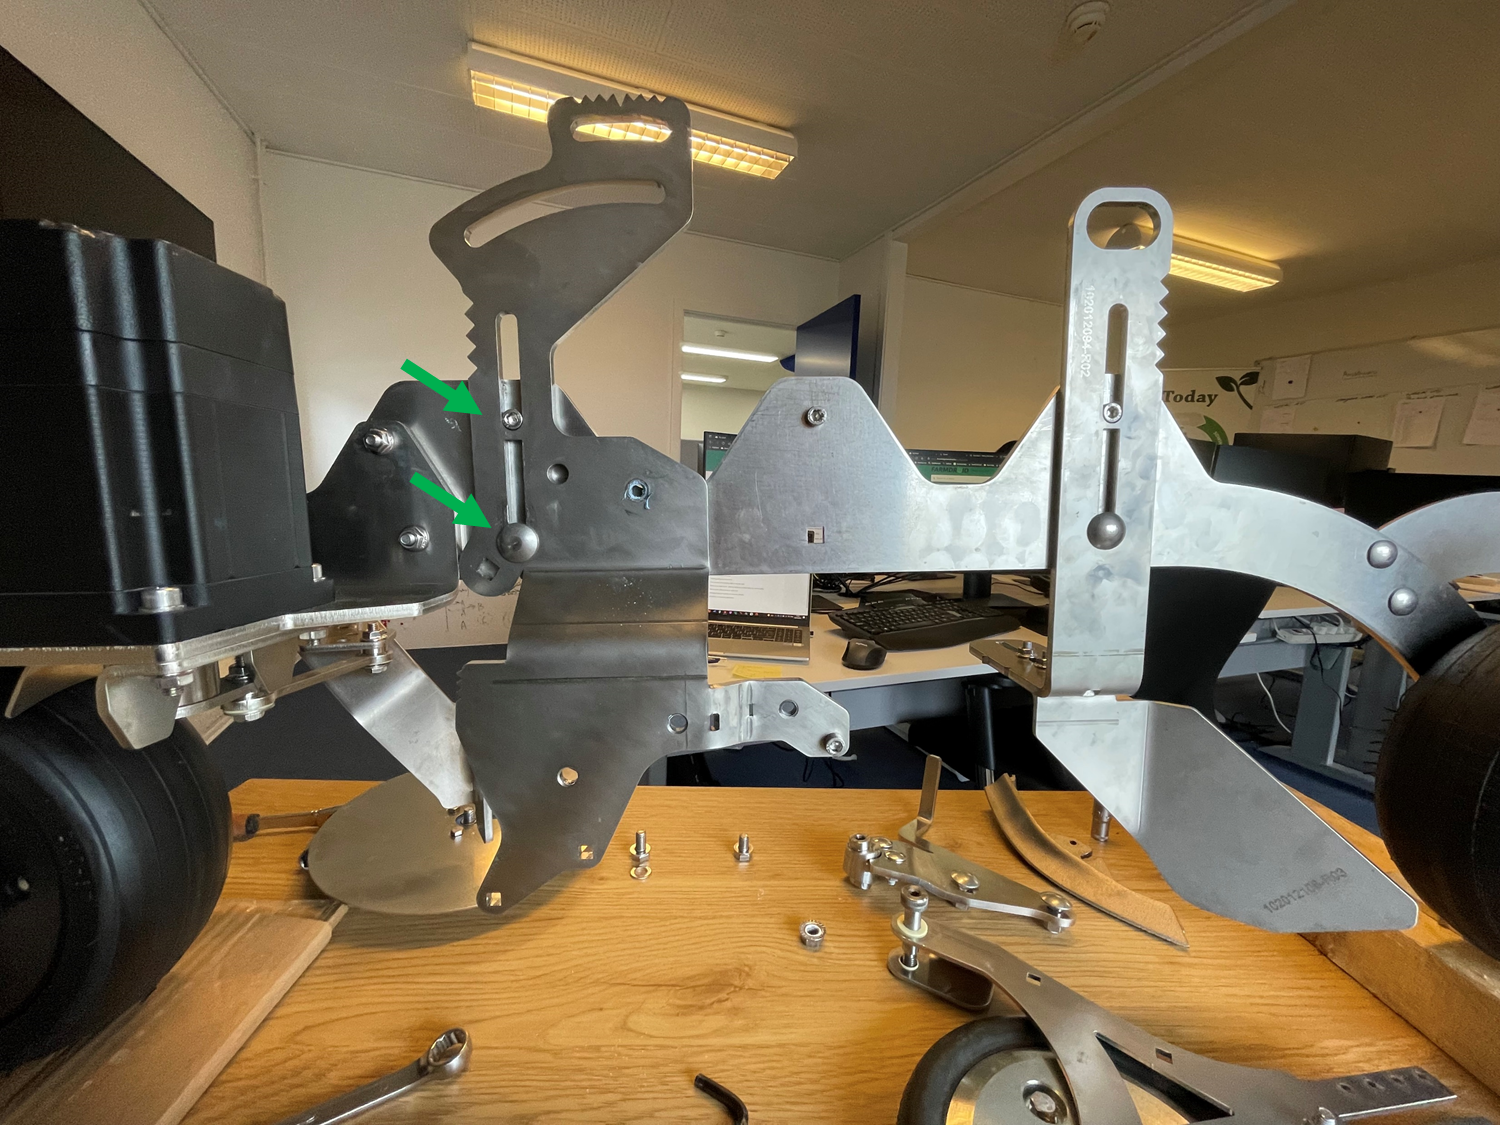
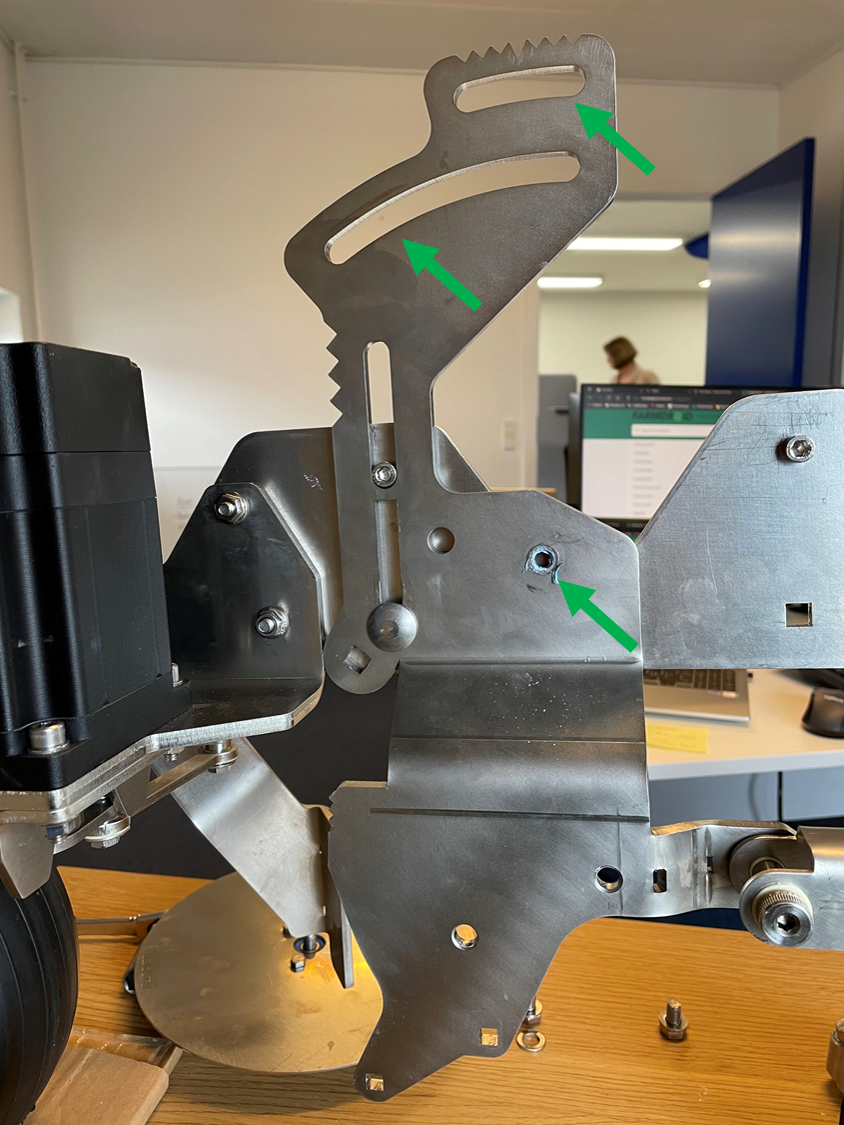
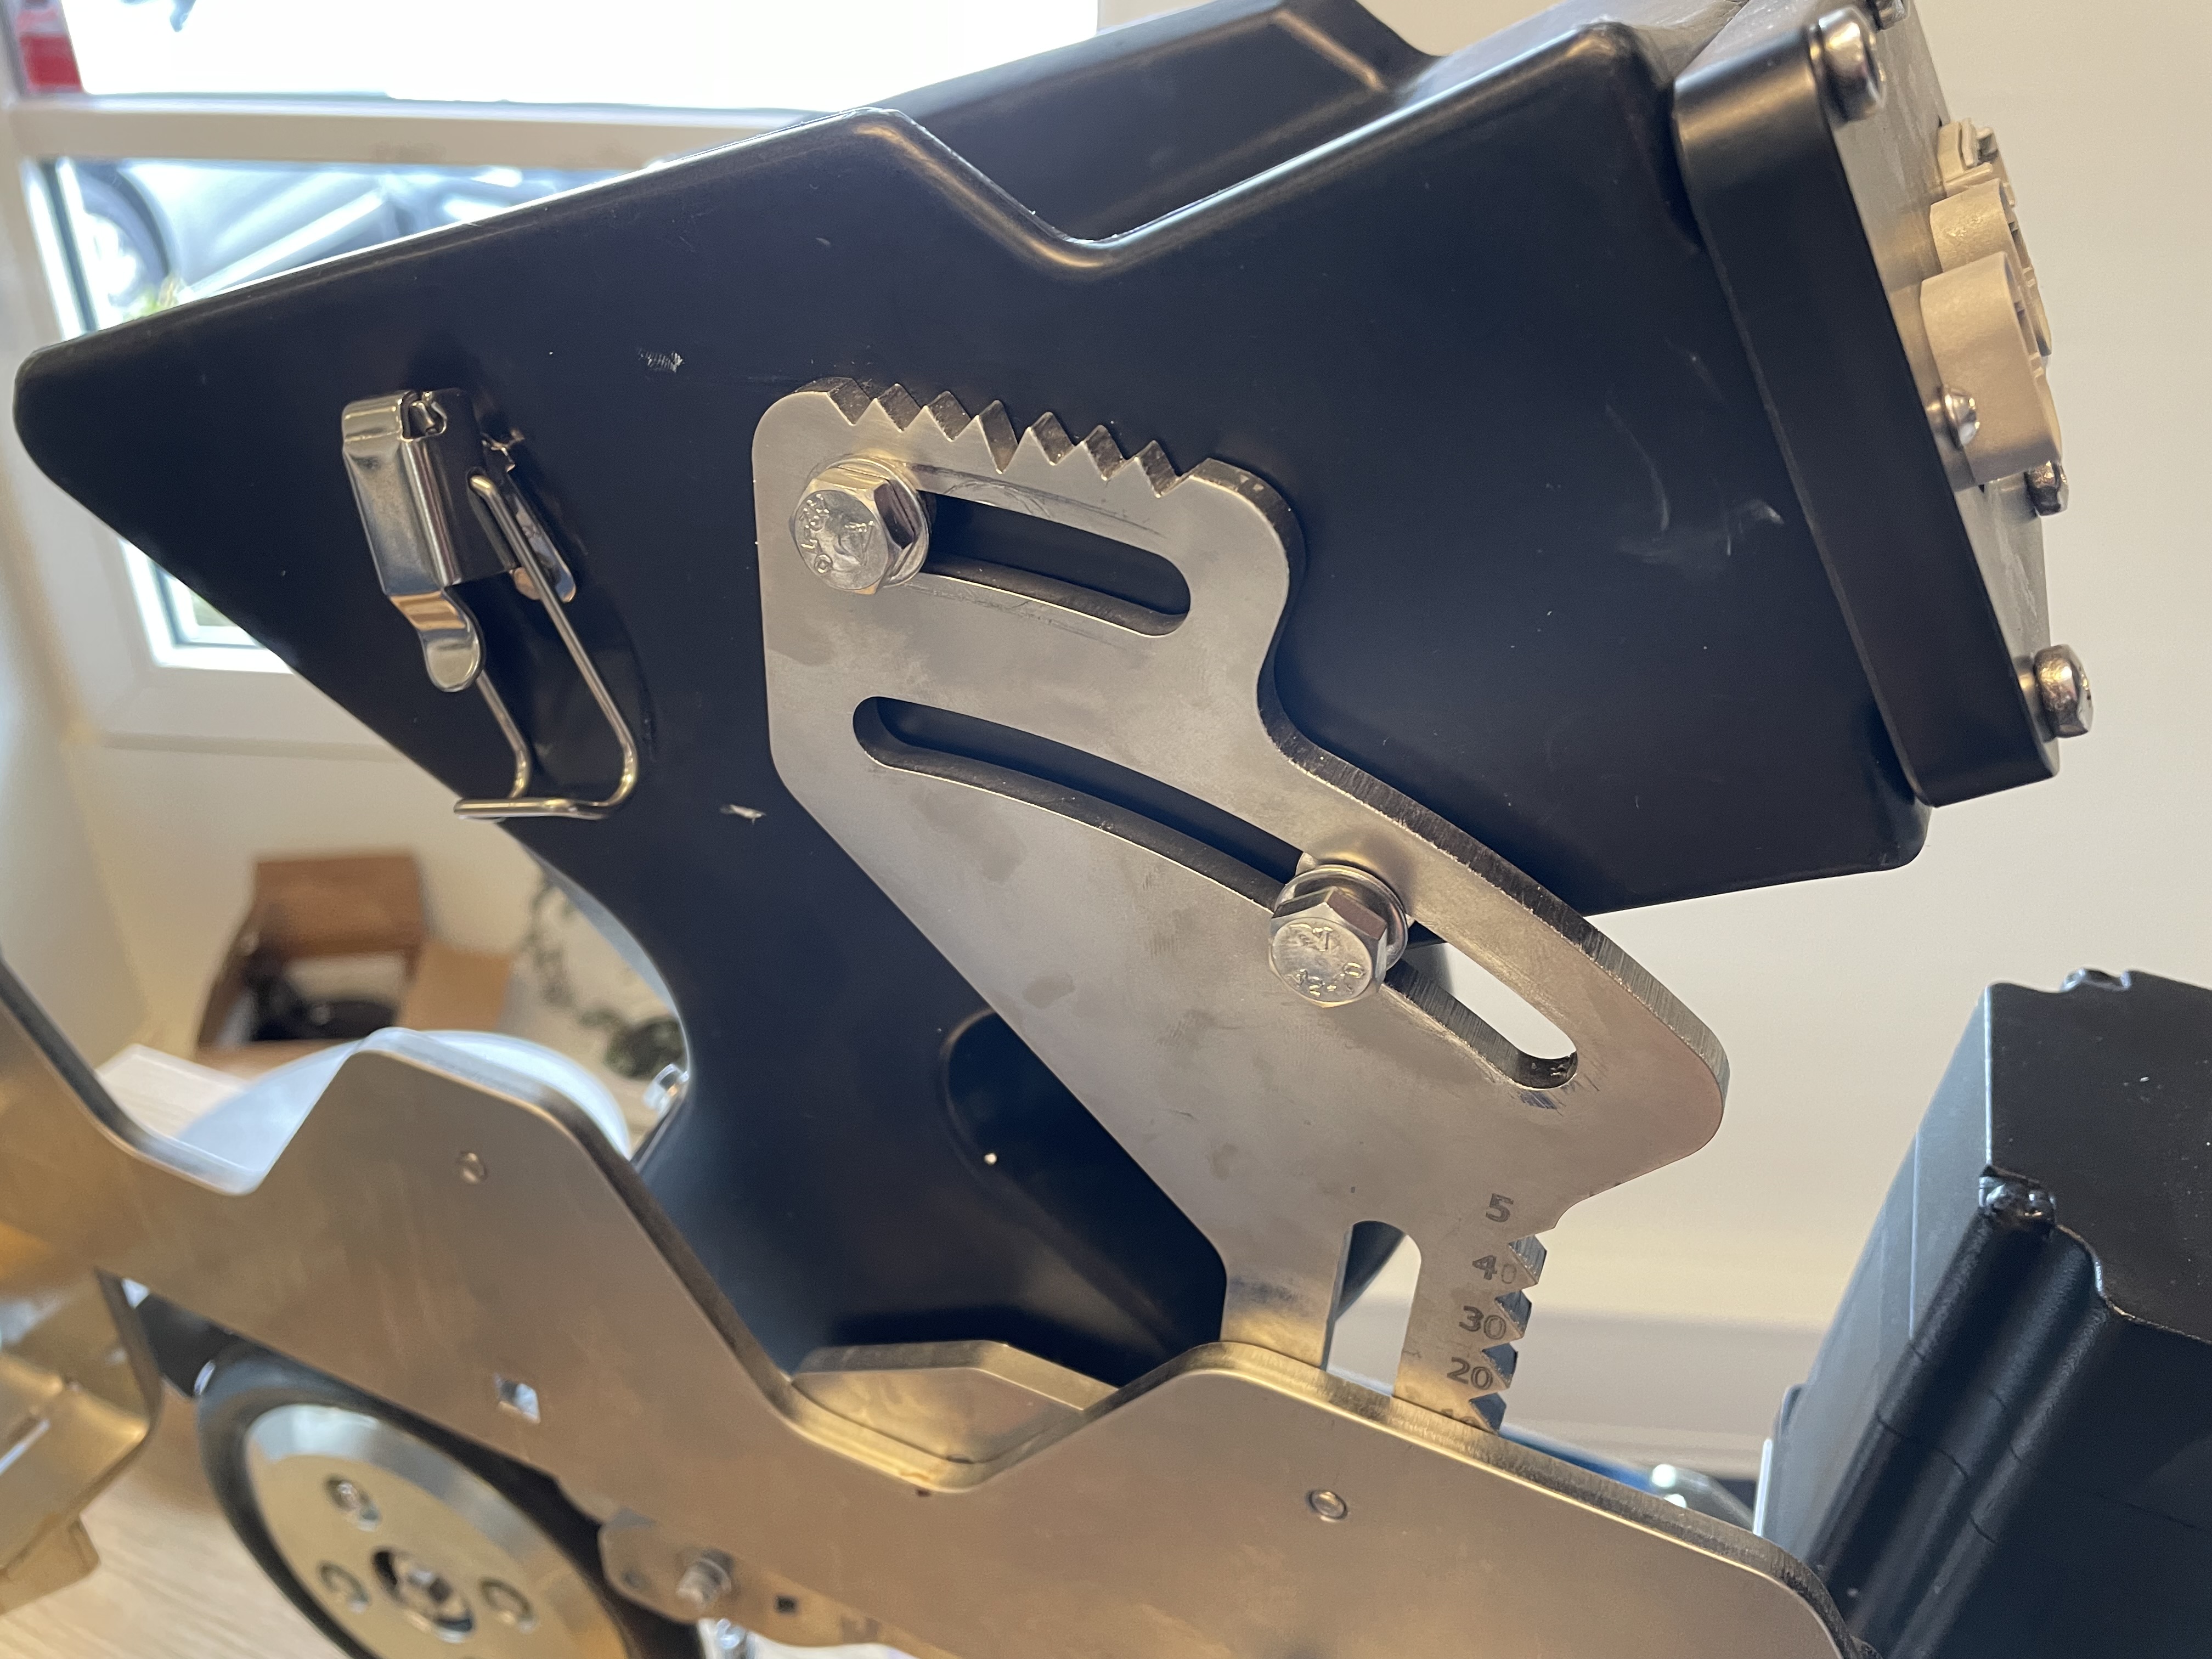
STEP 4
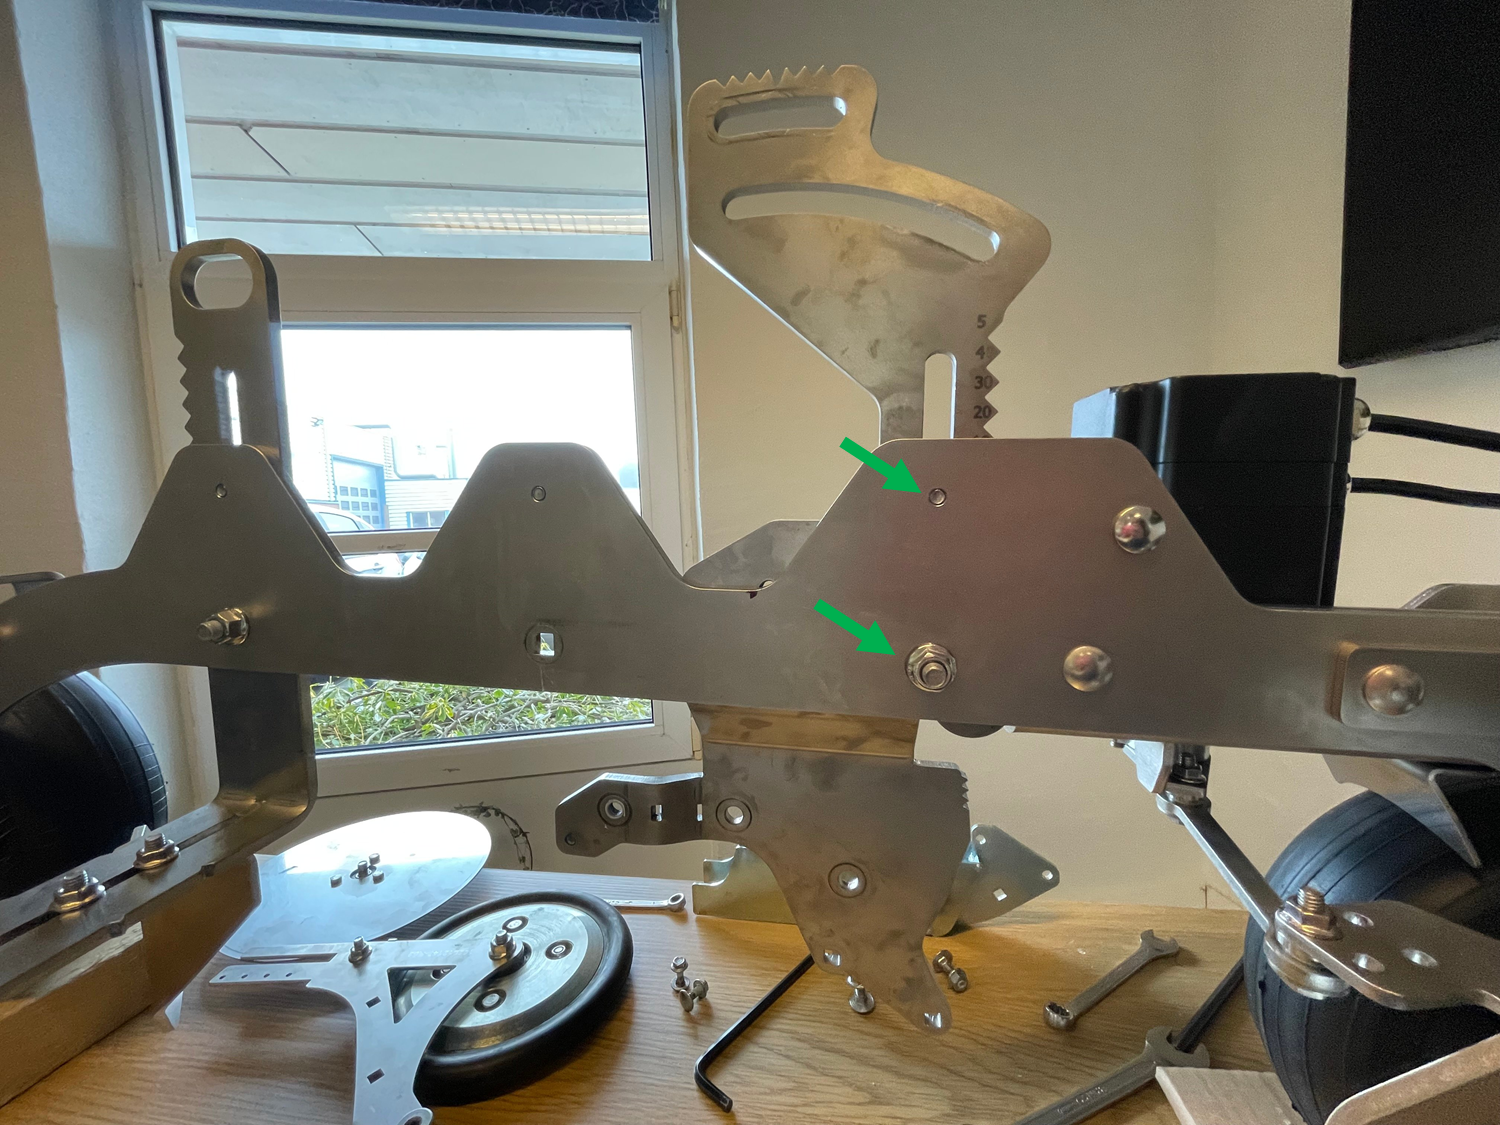
Attach the black electronic box to the sowing arm using a 6 mm Allen wrench for the bottom screw and a 13 mm socket wrench for the two top screws. The fixing points are marked by the green arrows in the image below
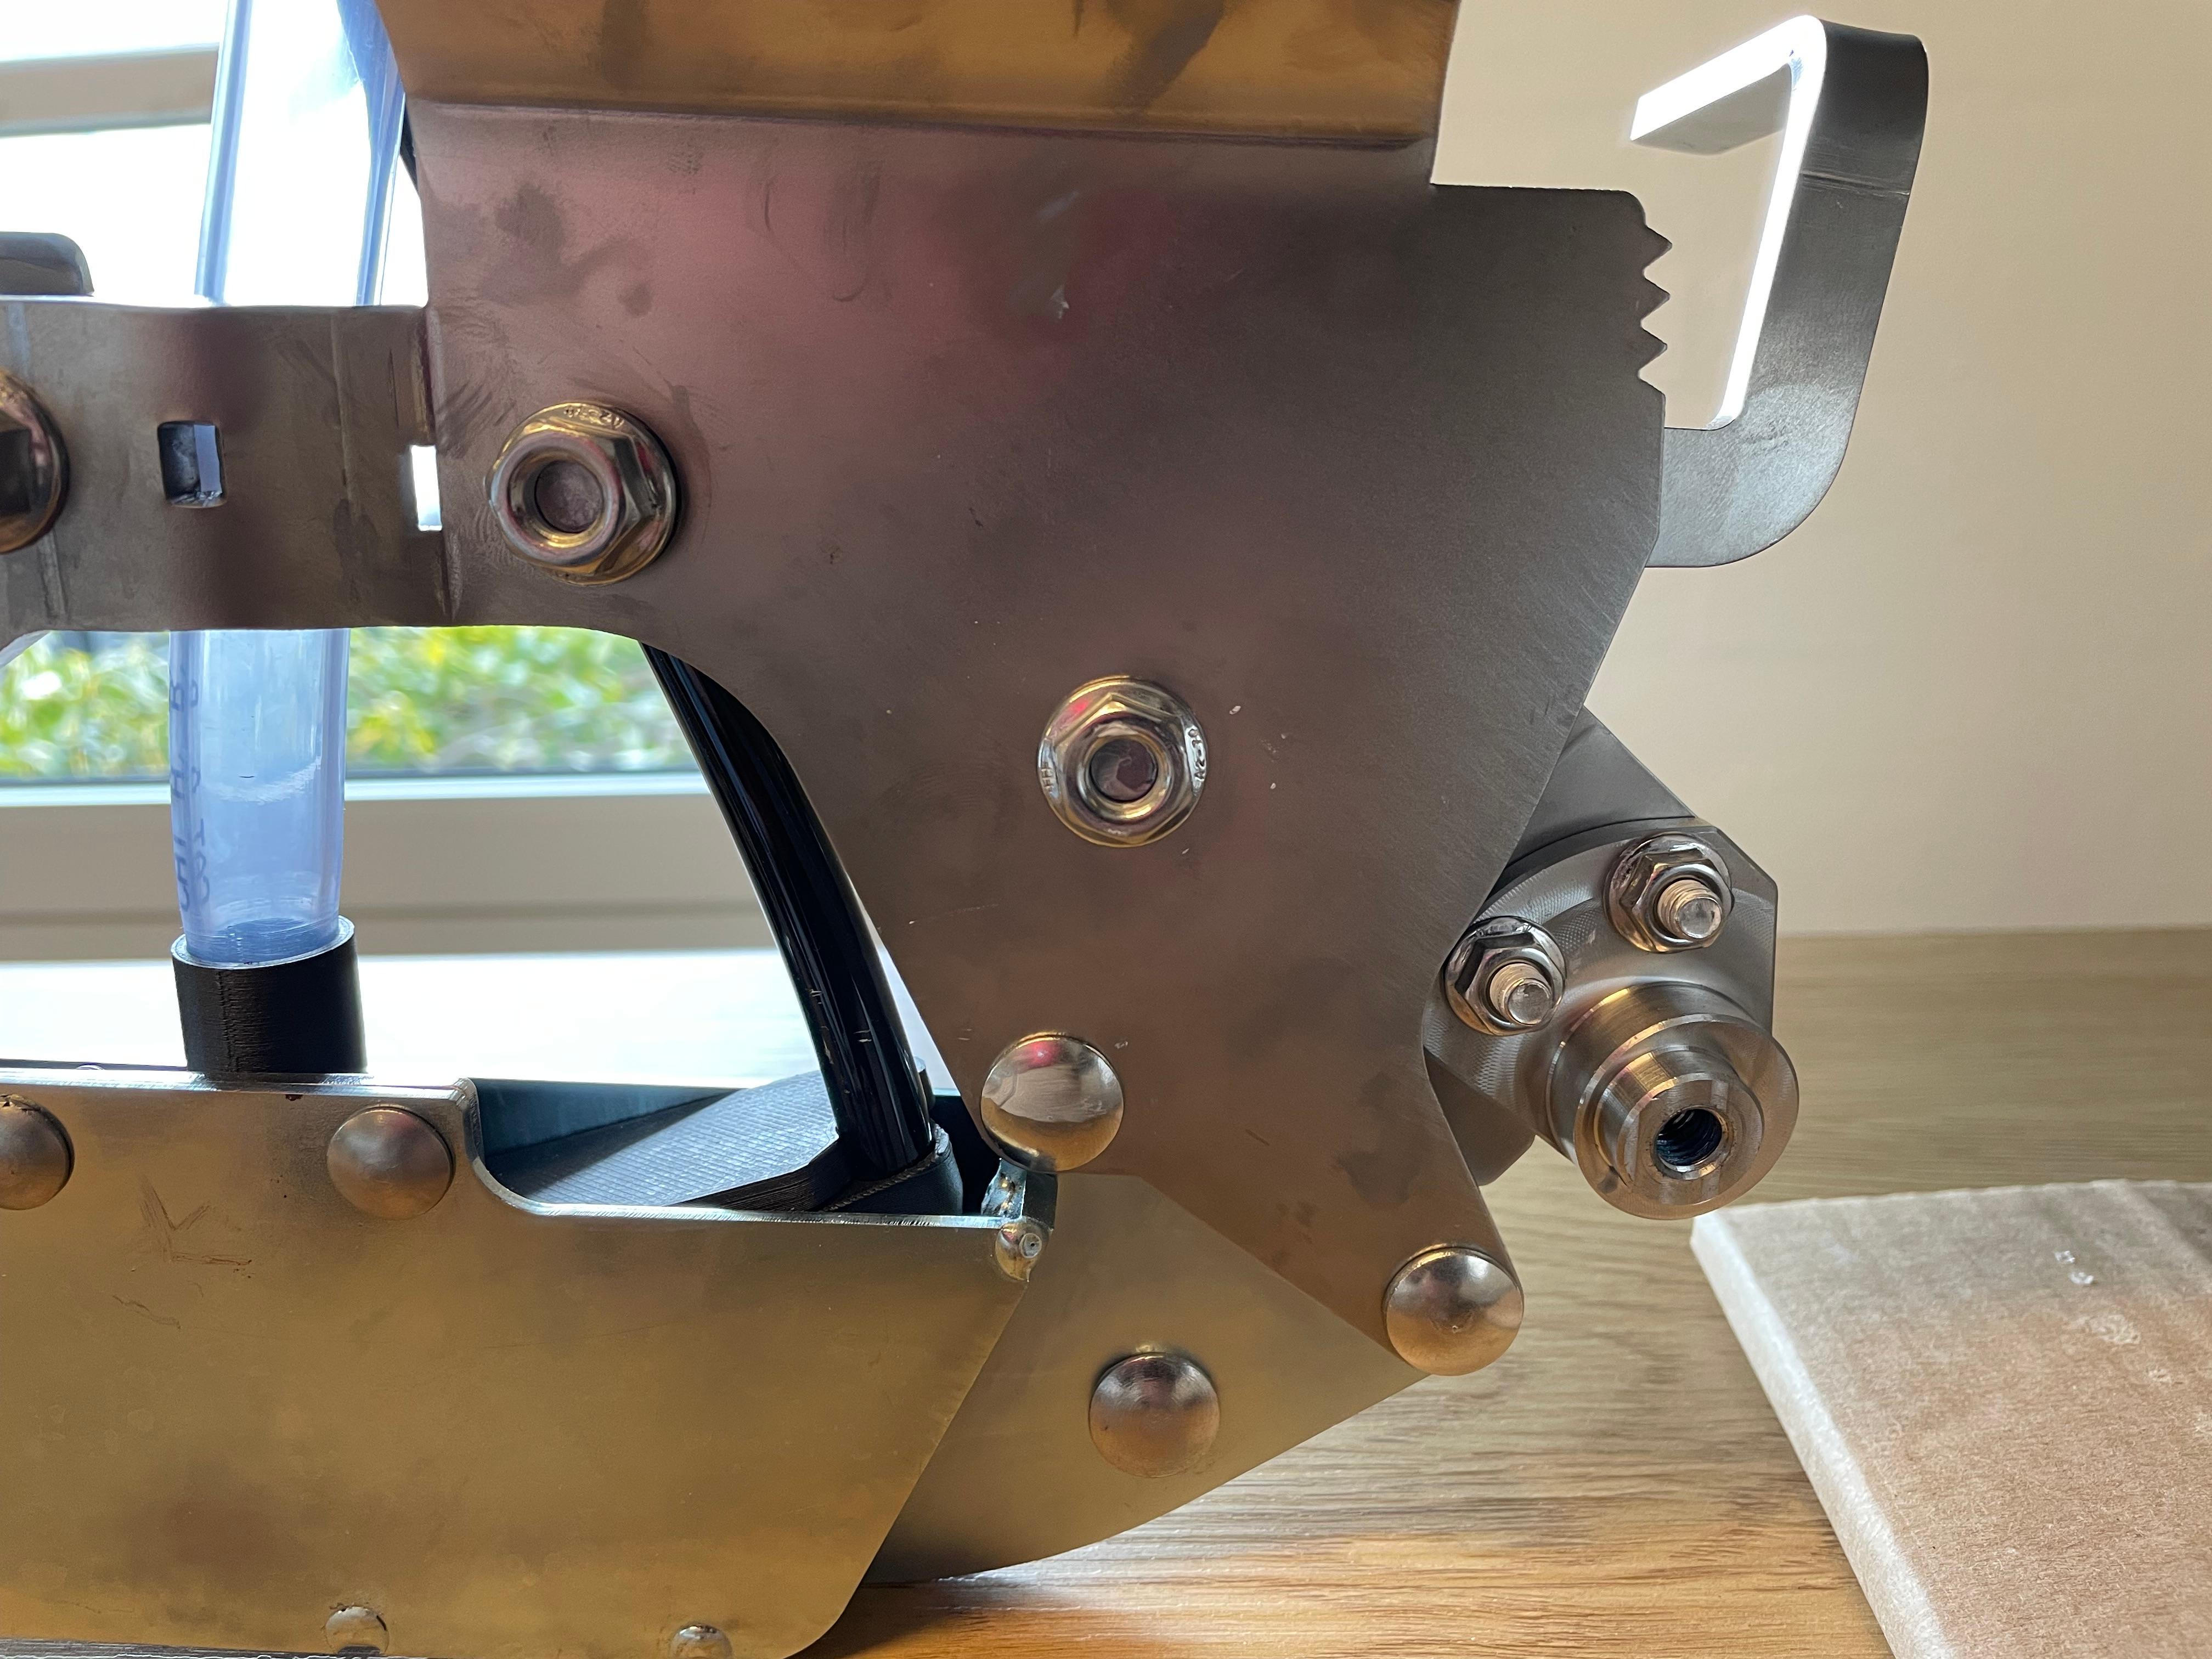
STEP 5
Place the seed valve to the new seed coulter console, as shown in the image
STEP 6
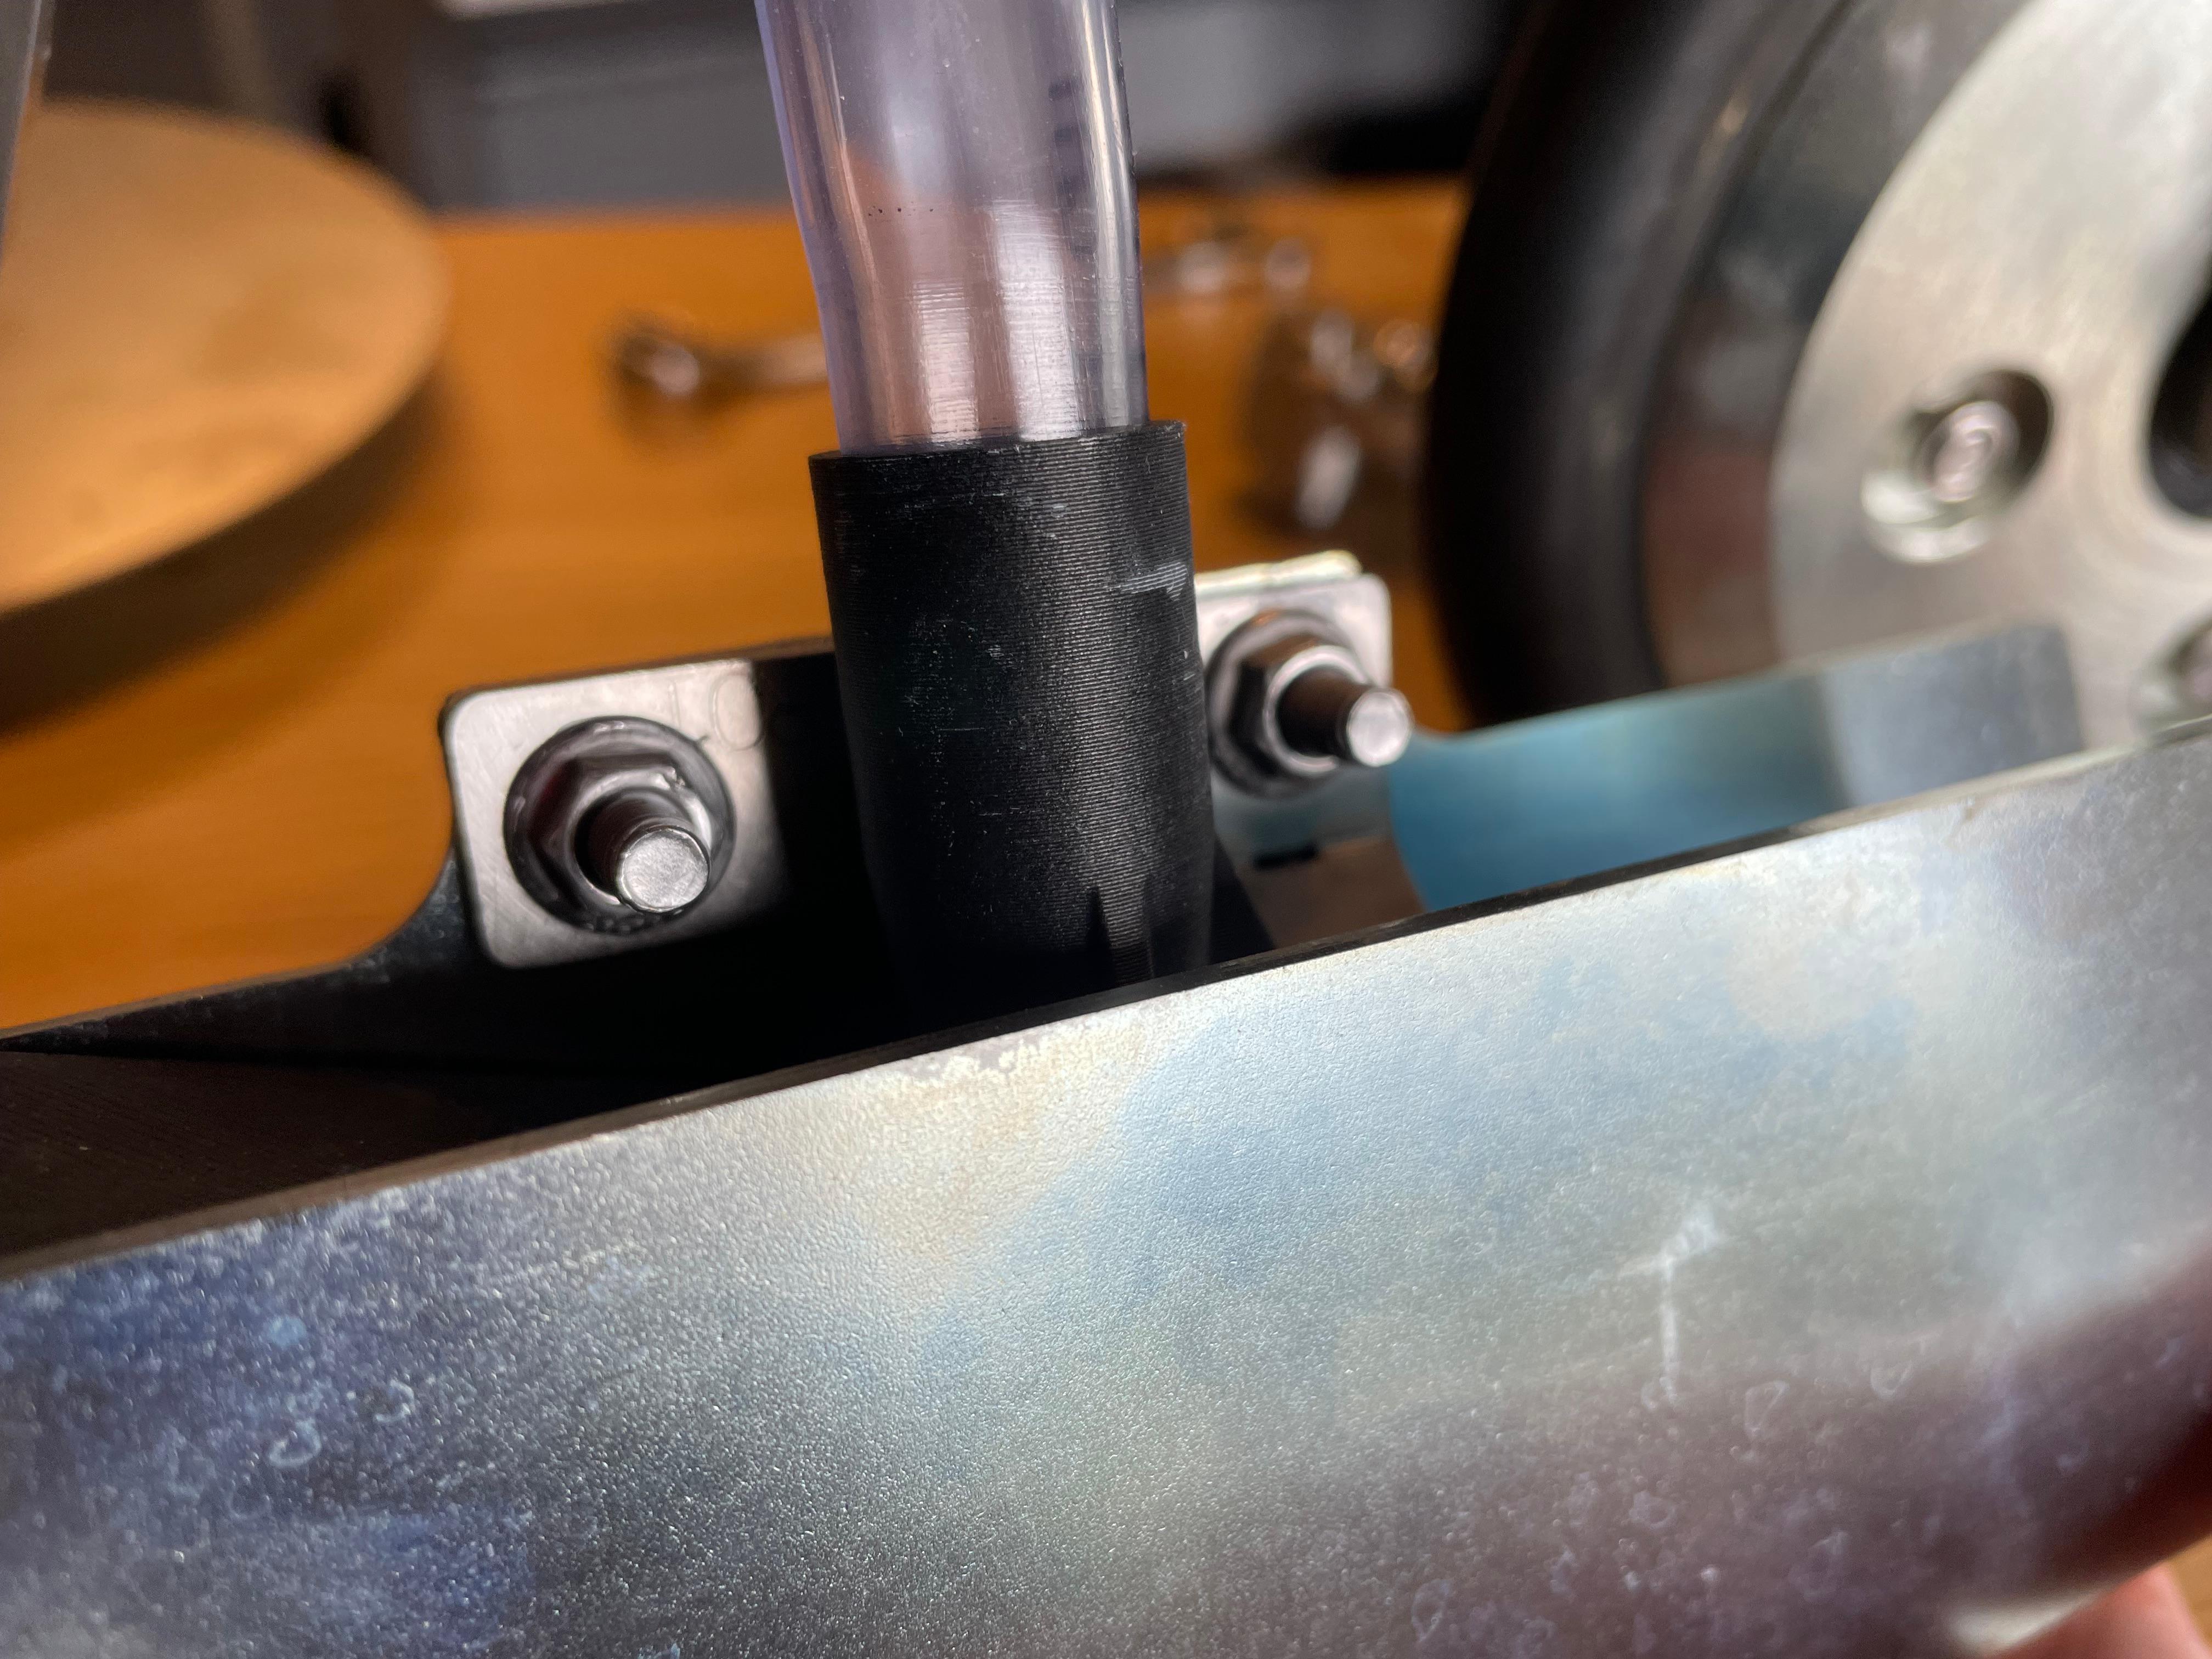
Secure the seed valve using the bracket. Tighten the two flange nuts with an 8 mm wrench. Then connect the hose coming from the electronic box to the valve
STEP 7
Secure the seed coulter console to the sowing arm
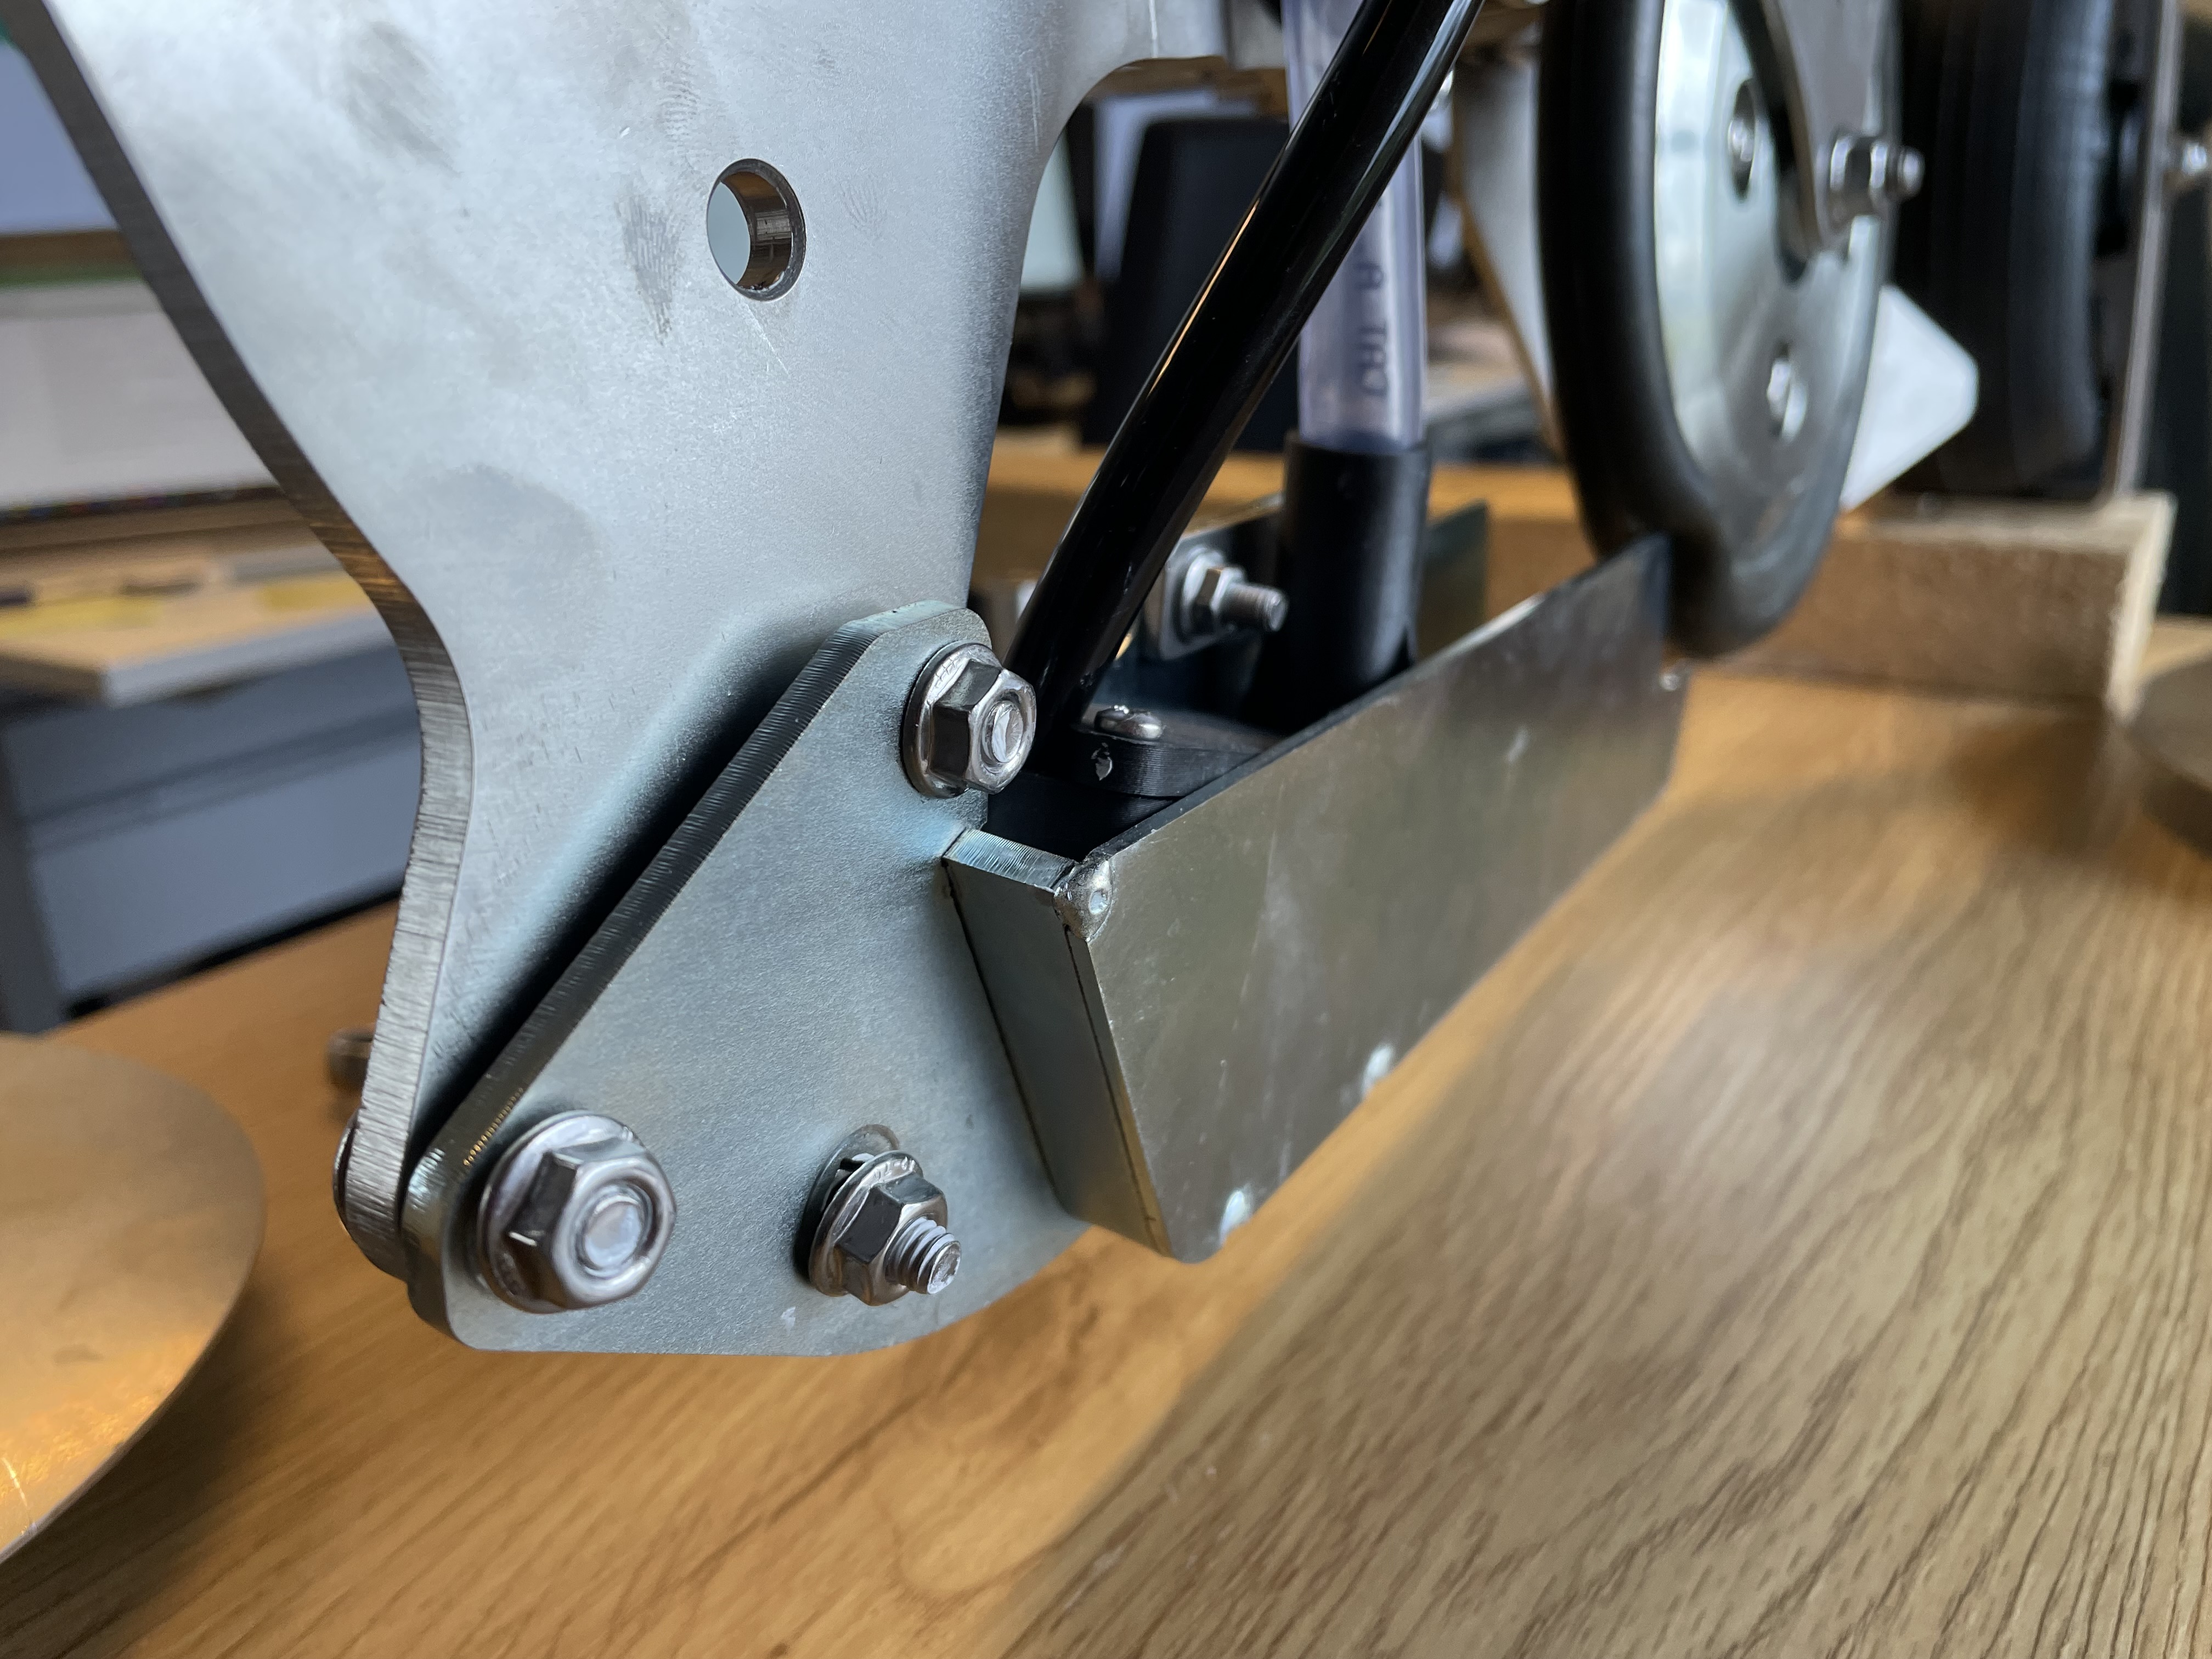

STEP 8
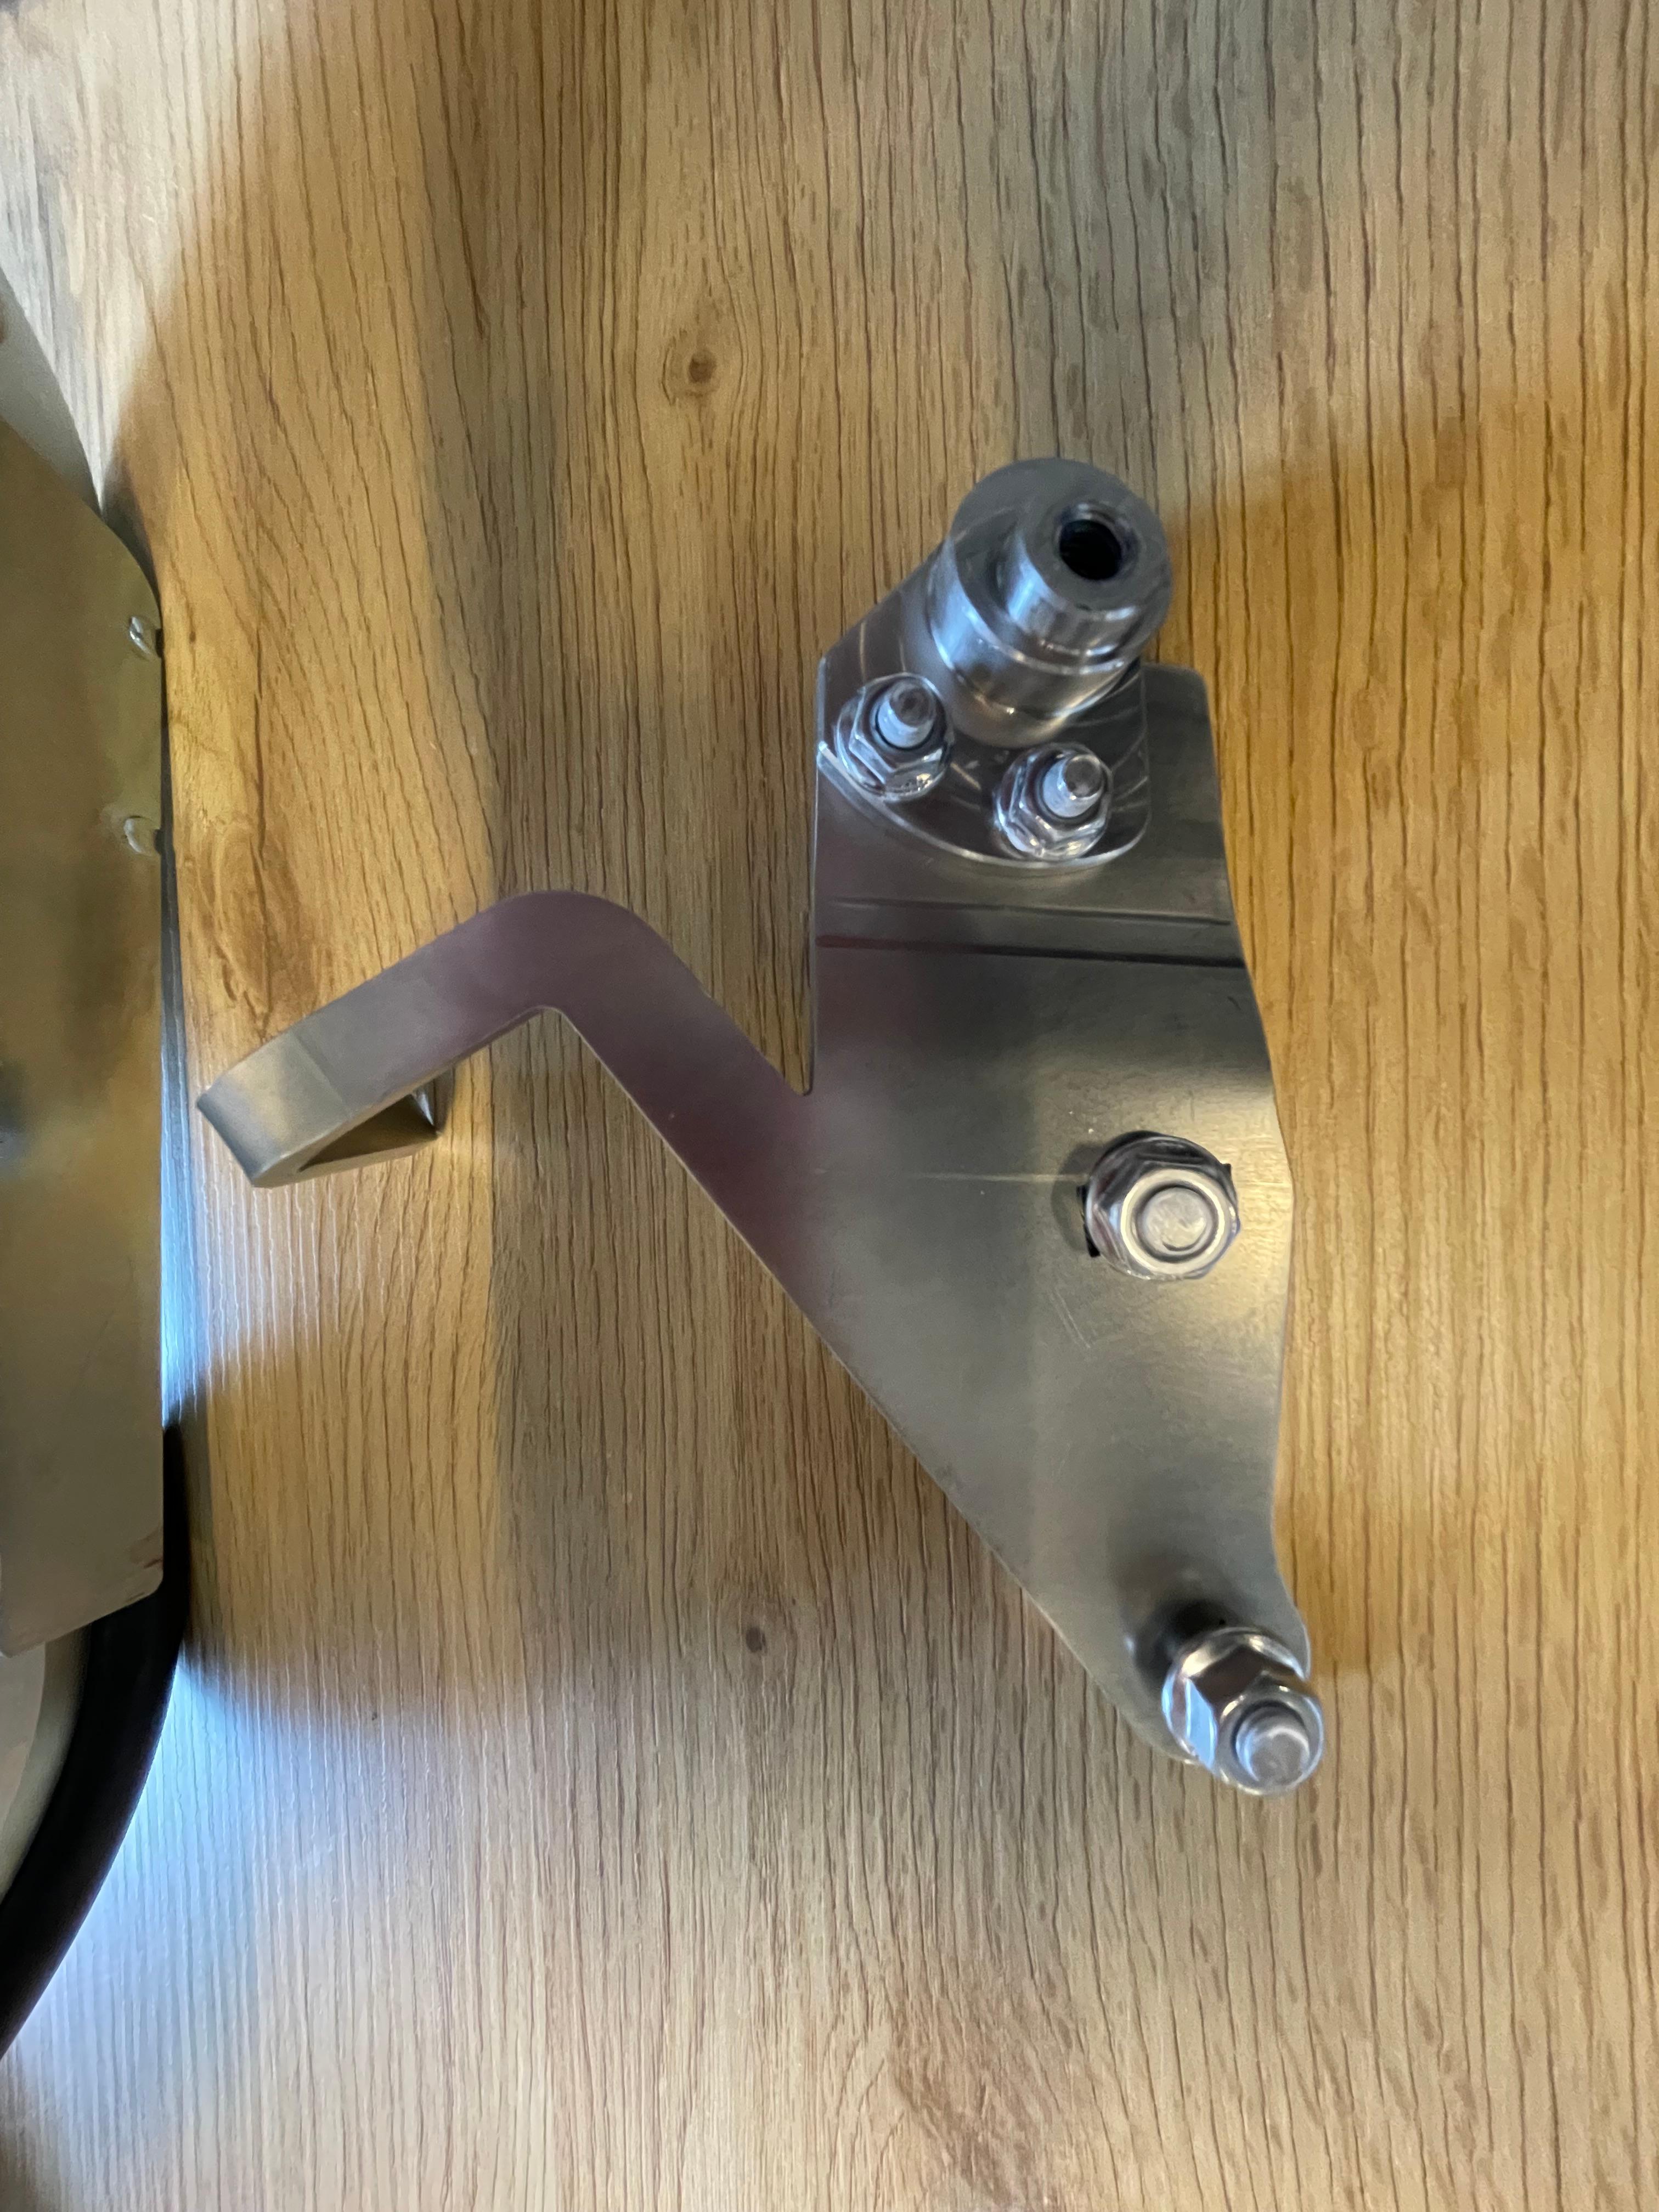
Secure the roller disc adjustment bracket to the sowing arm
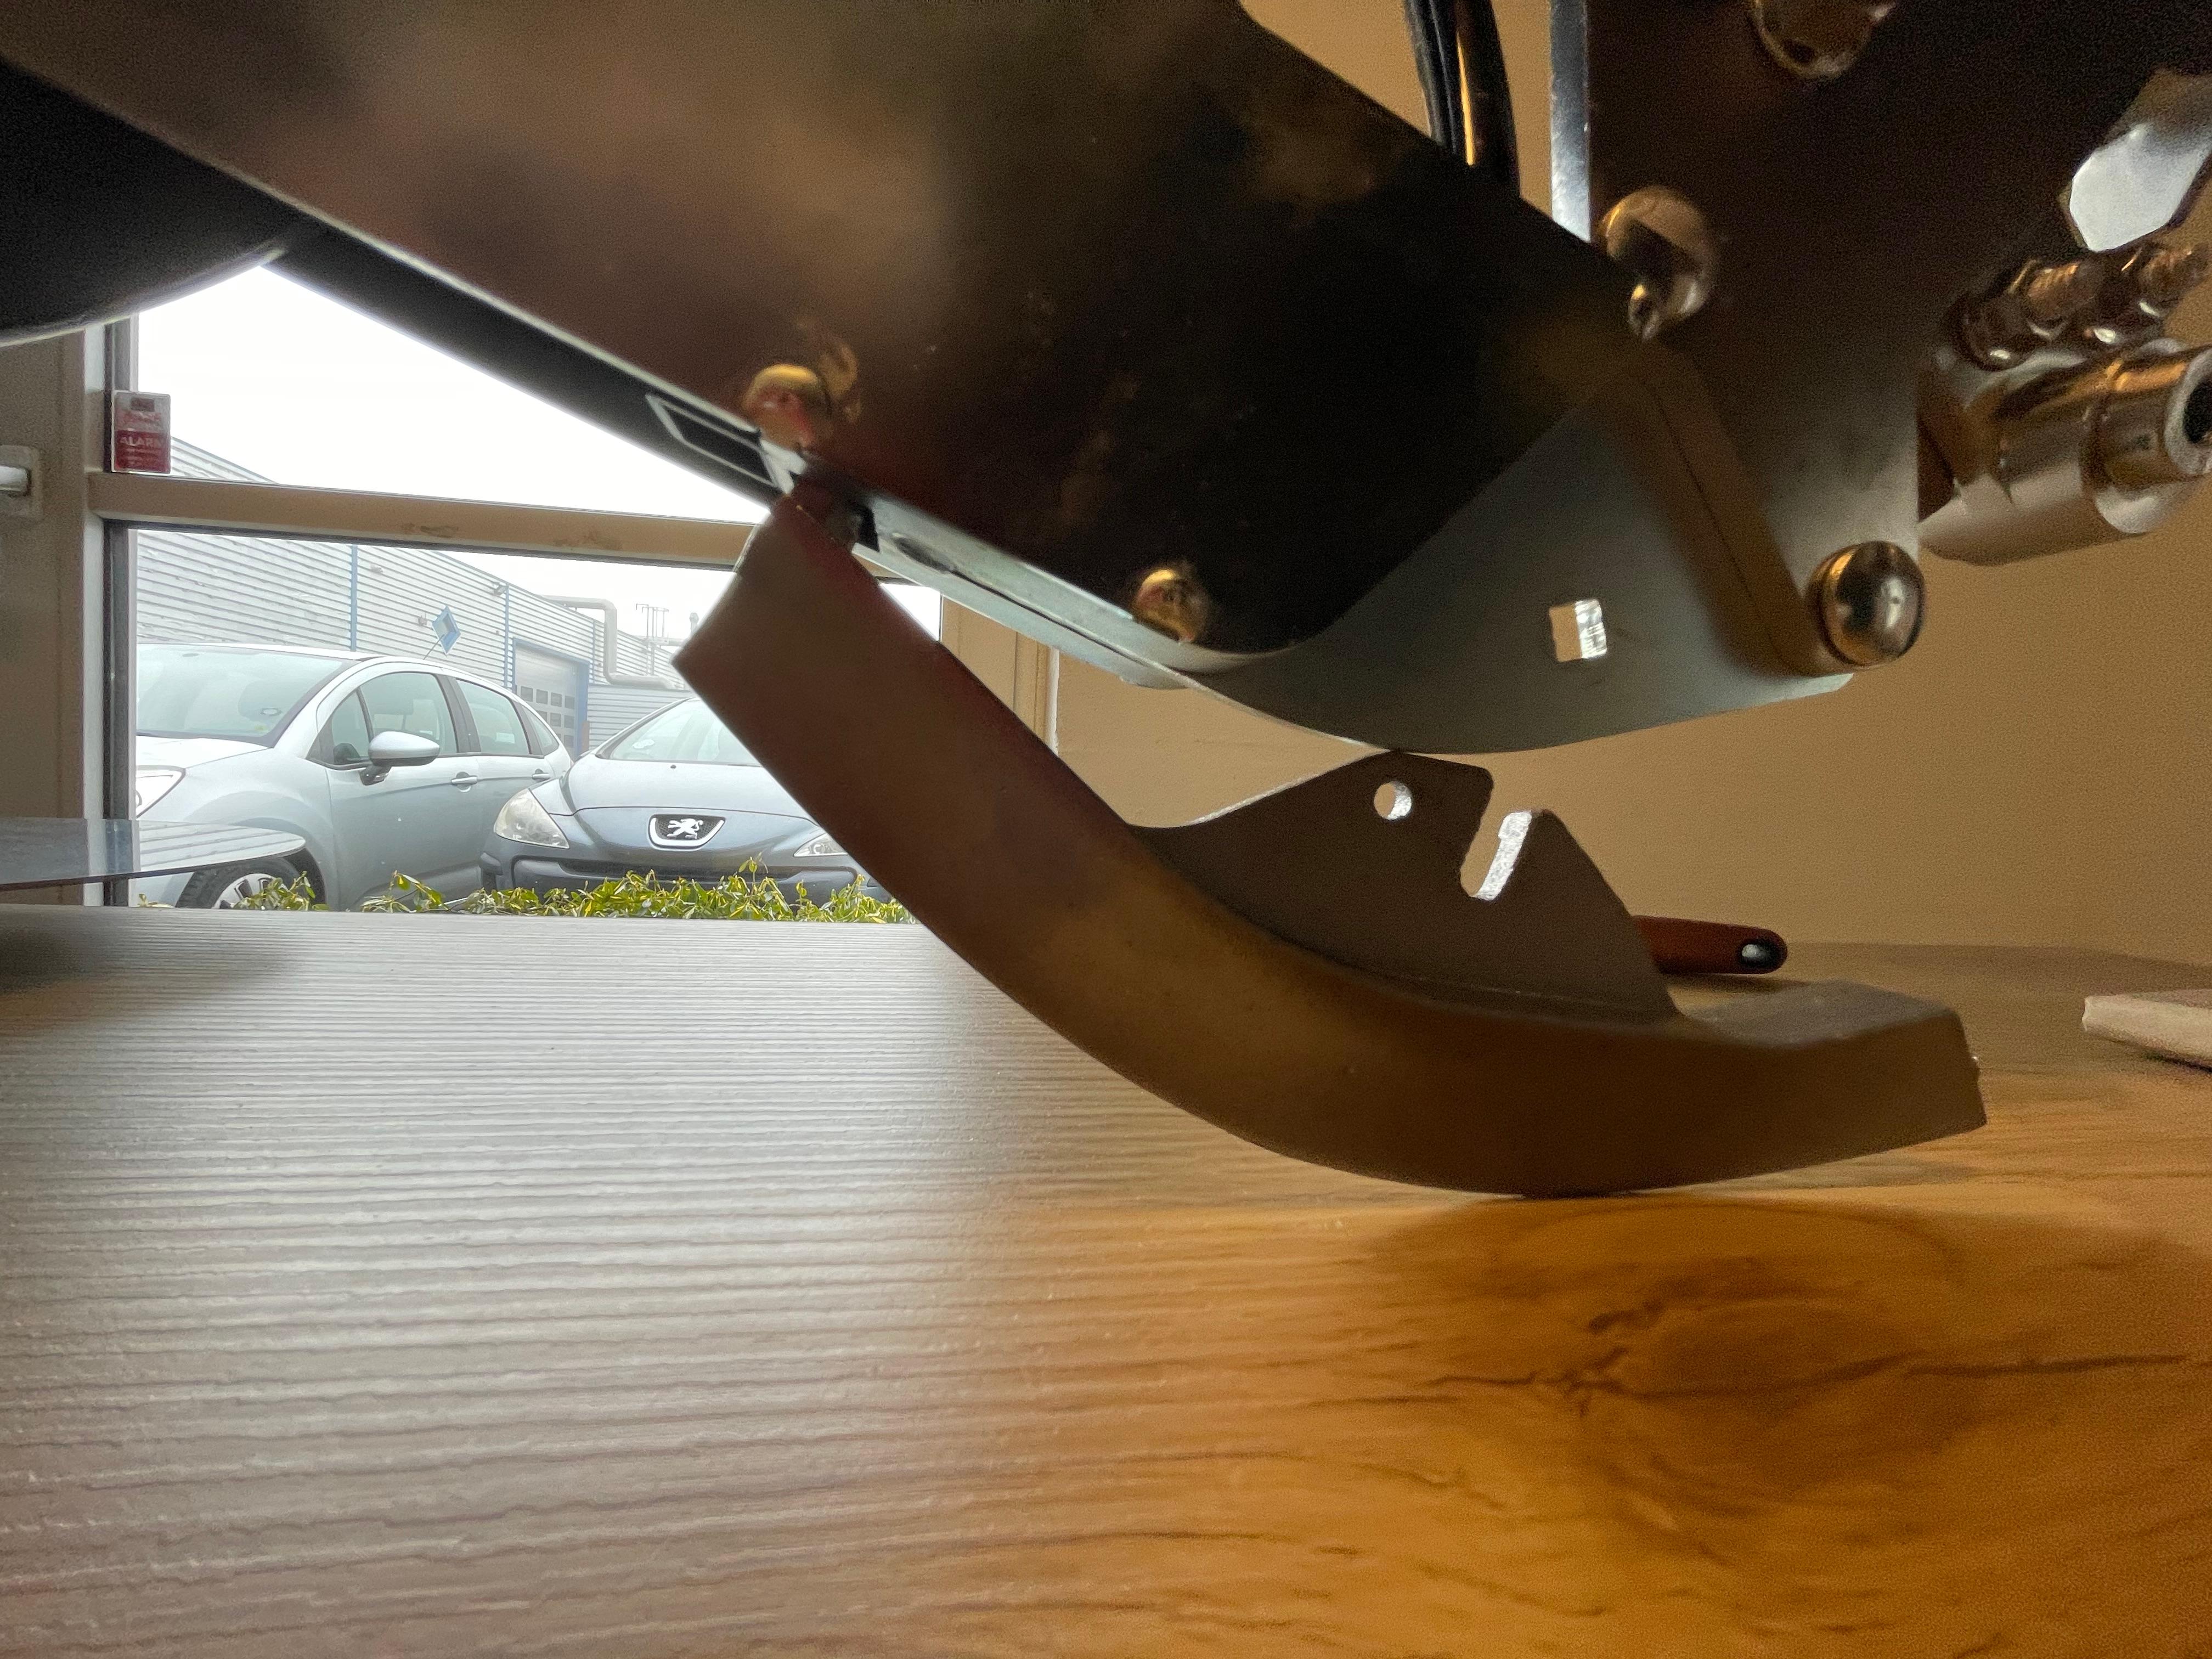
STEP 9
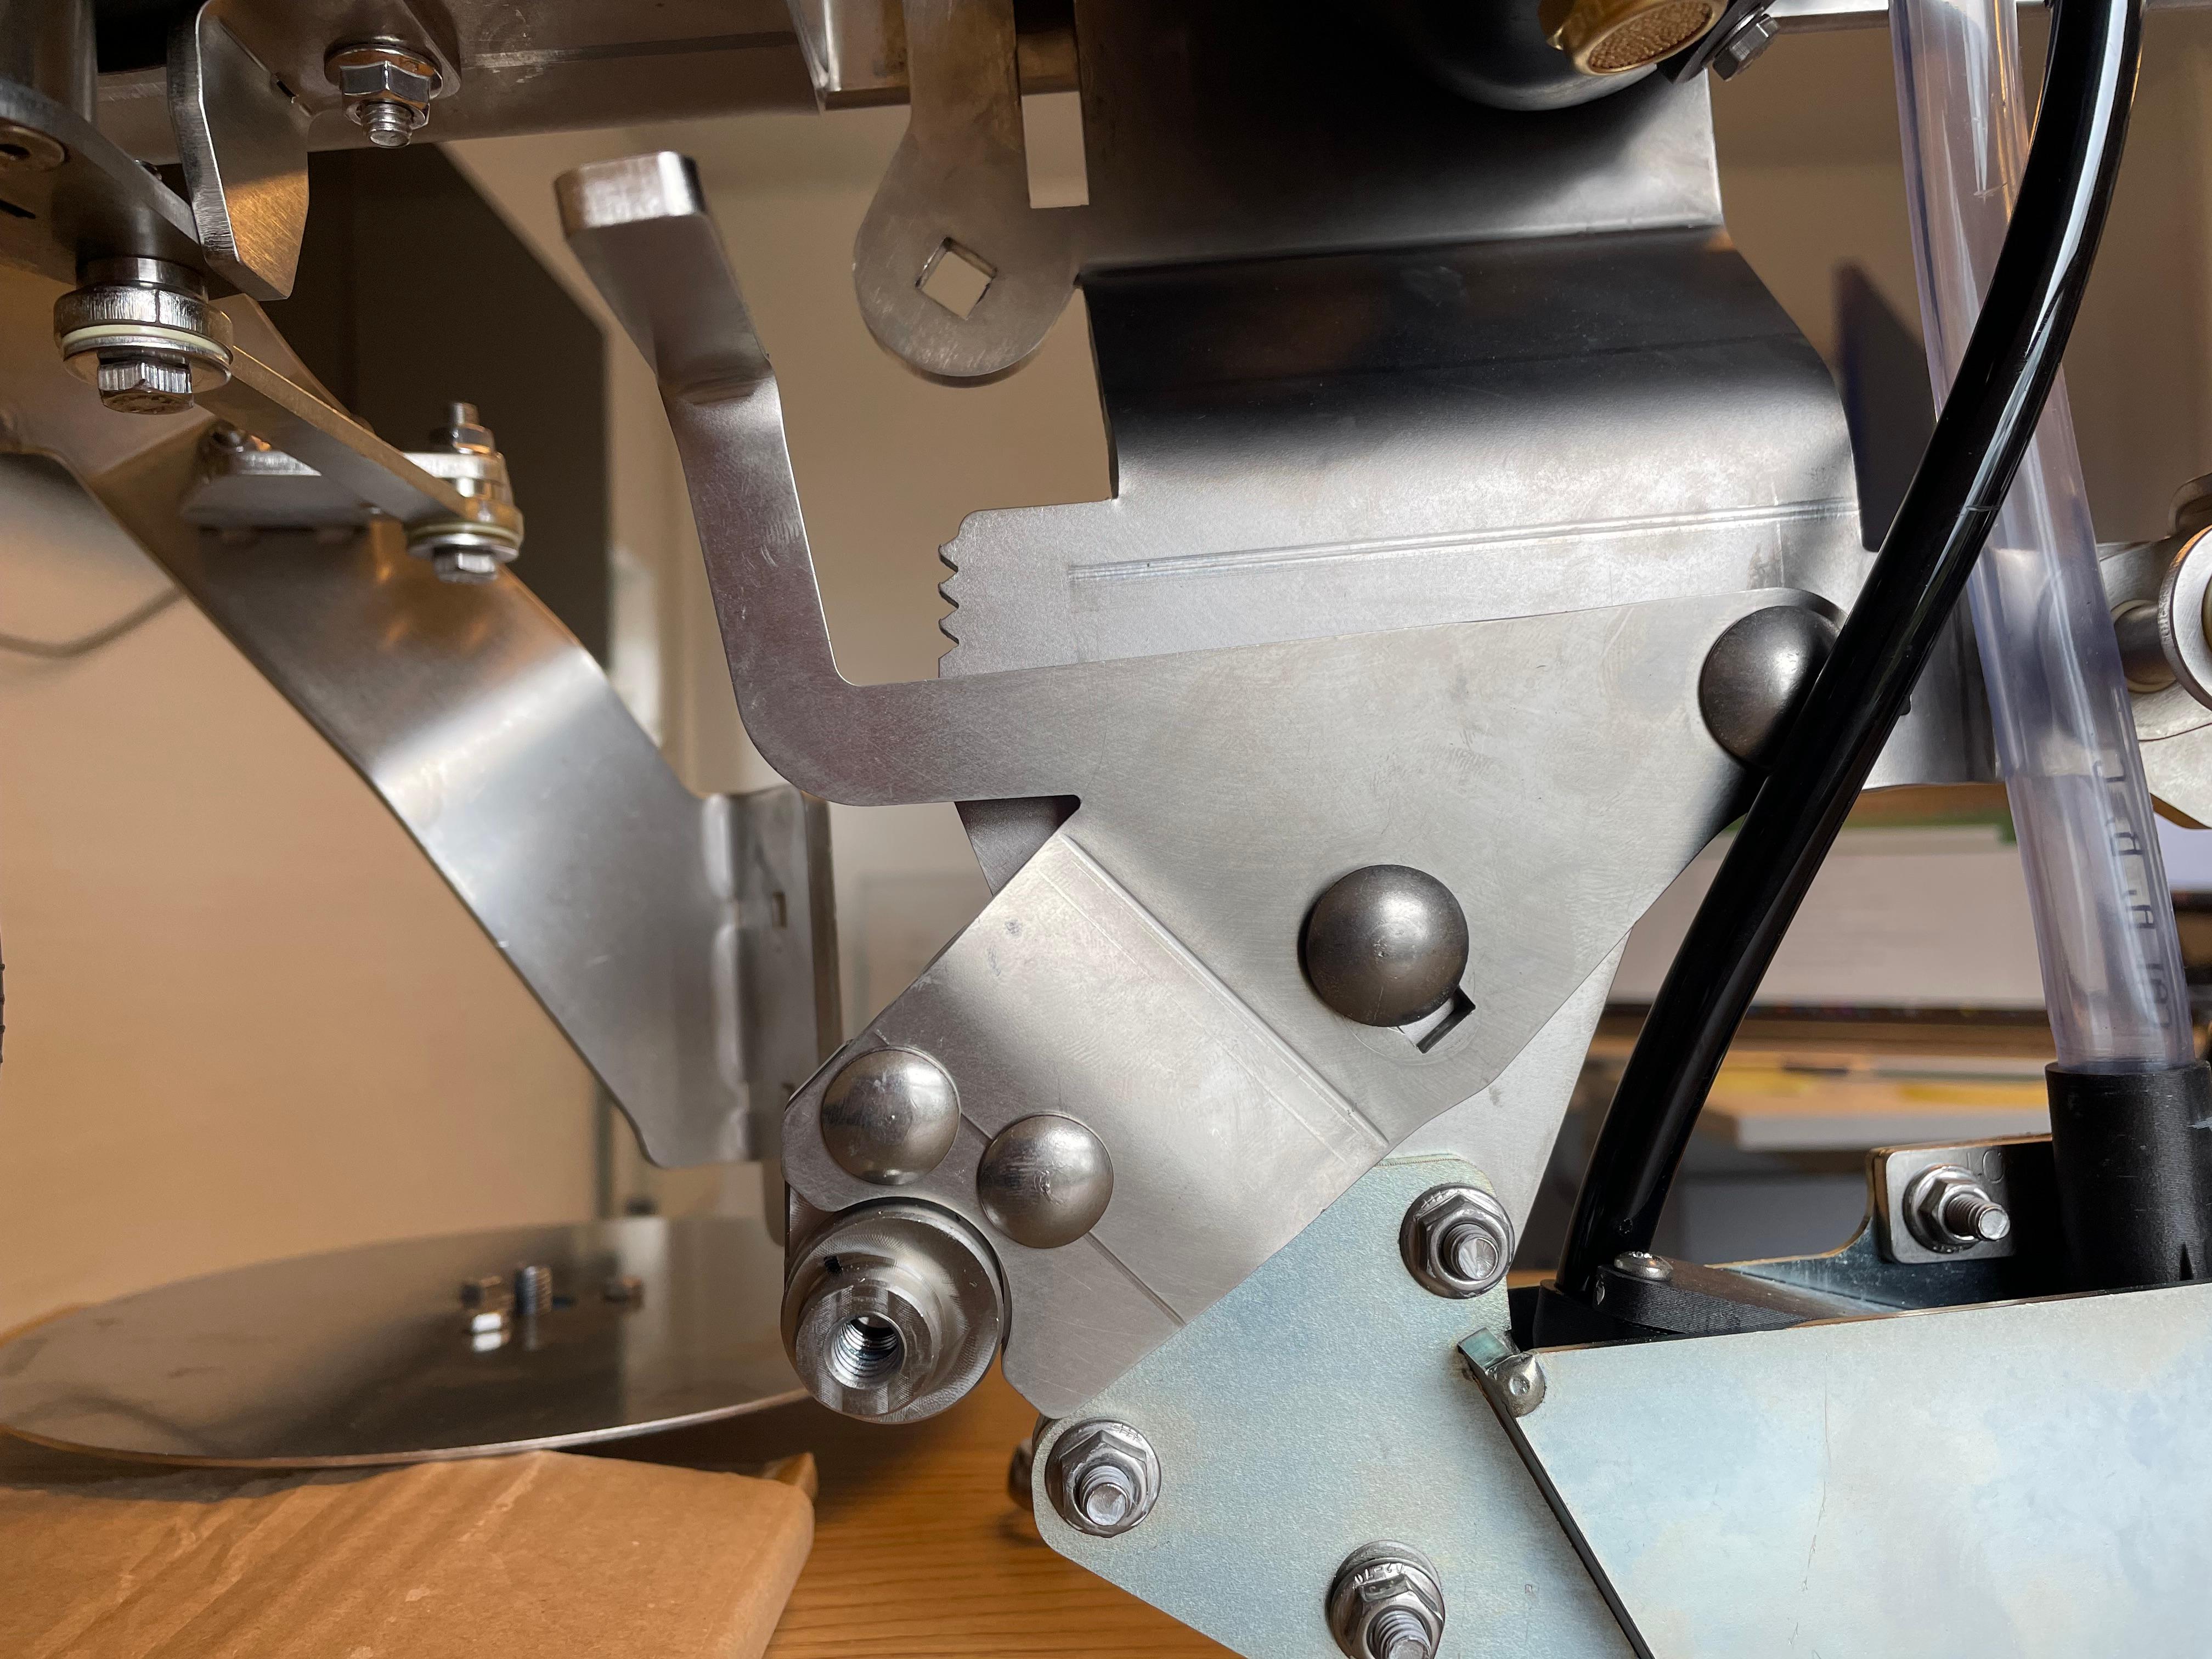
Secure the coulter to the seed coulter console as shown in the image. The rear part must be inserted at first, then it can be secured to the console itself
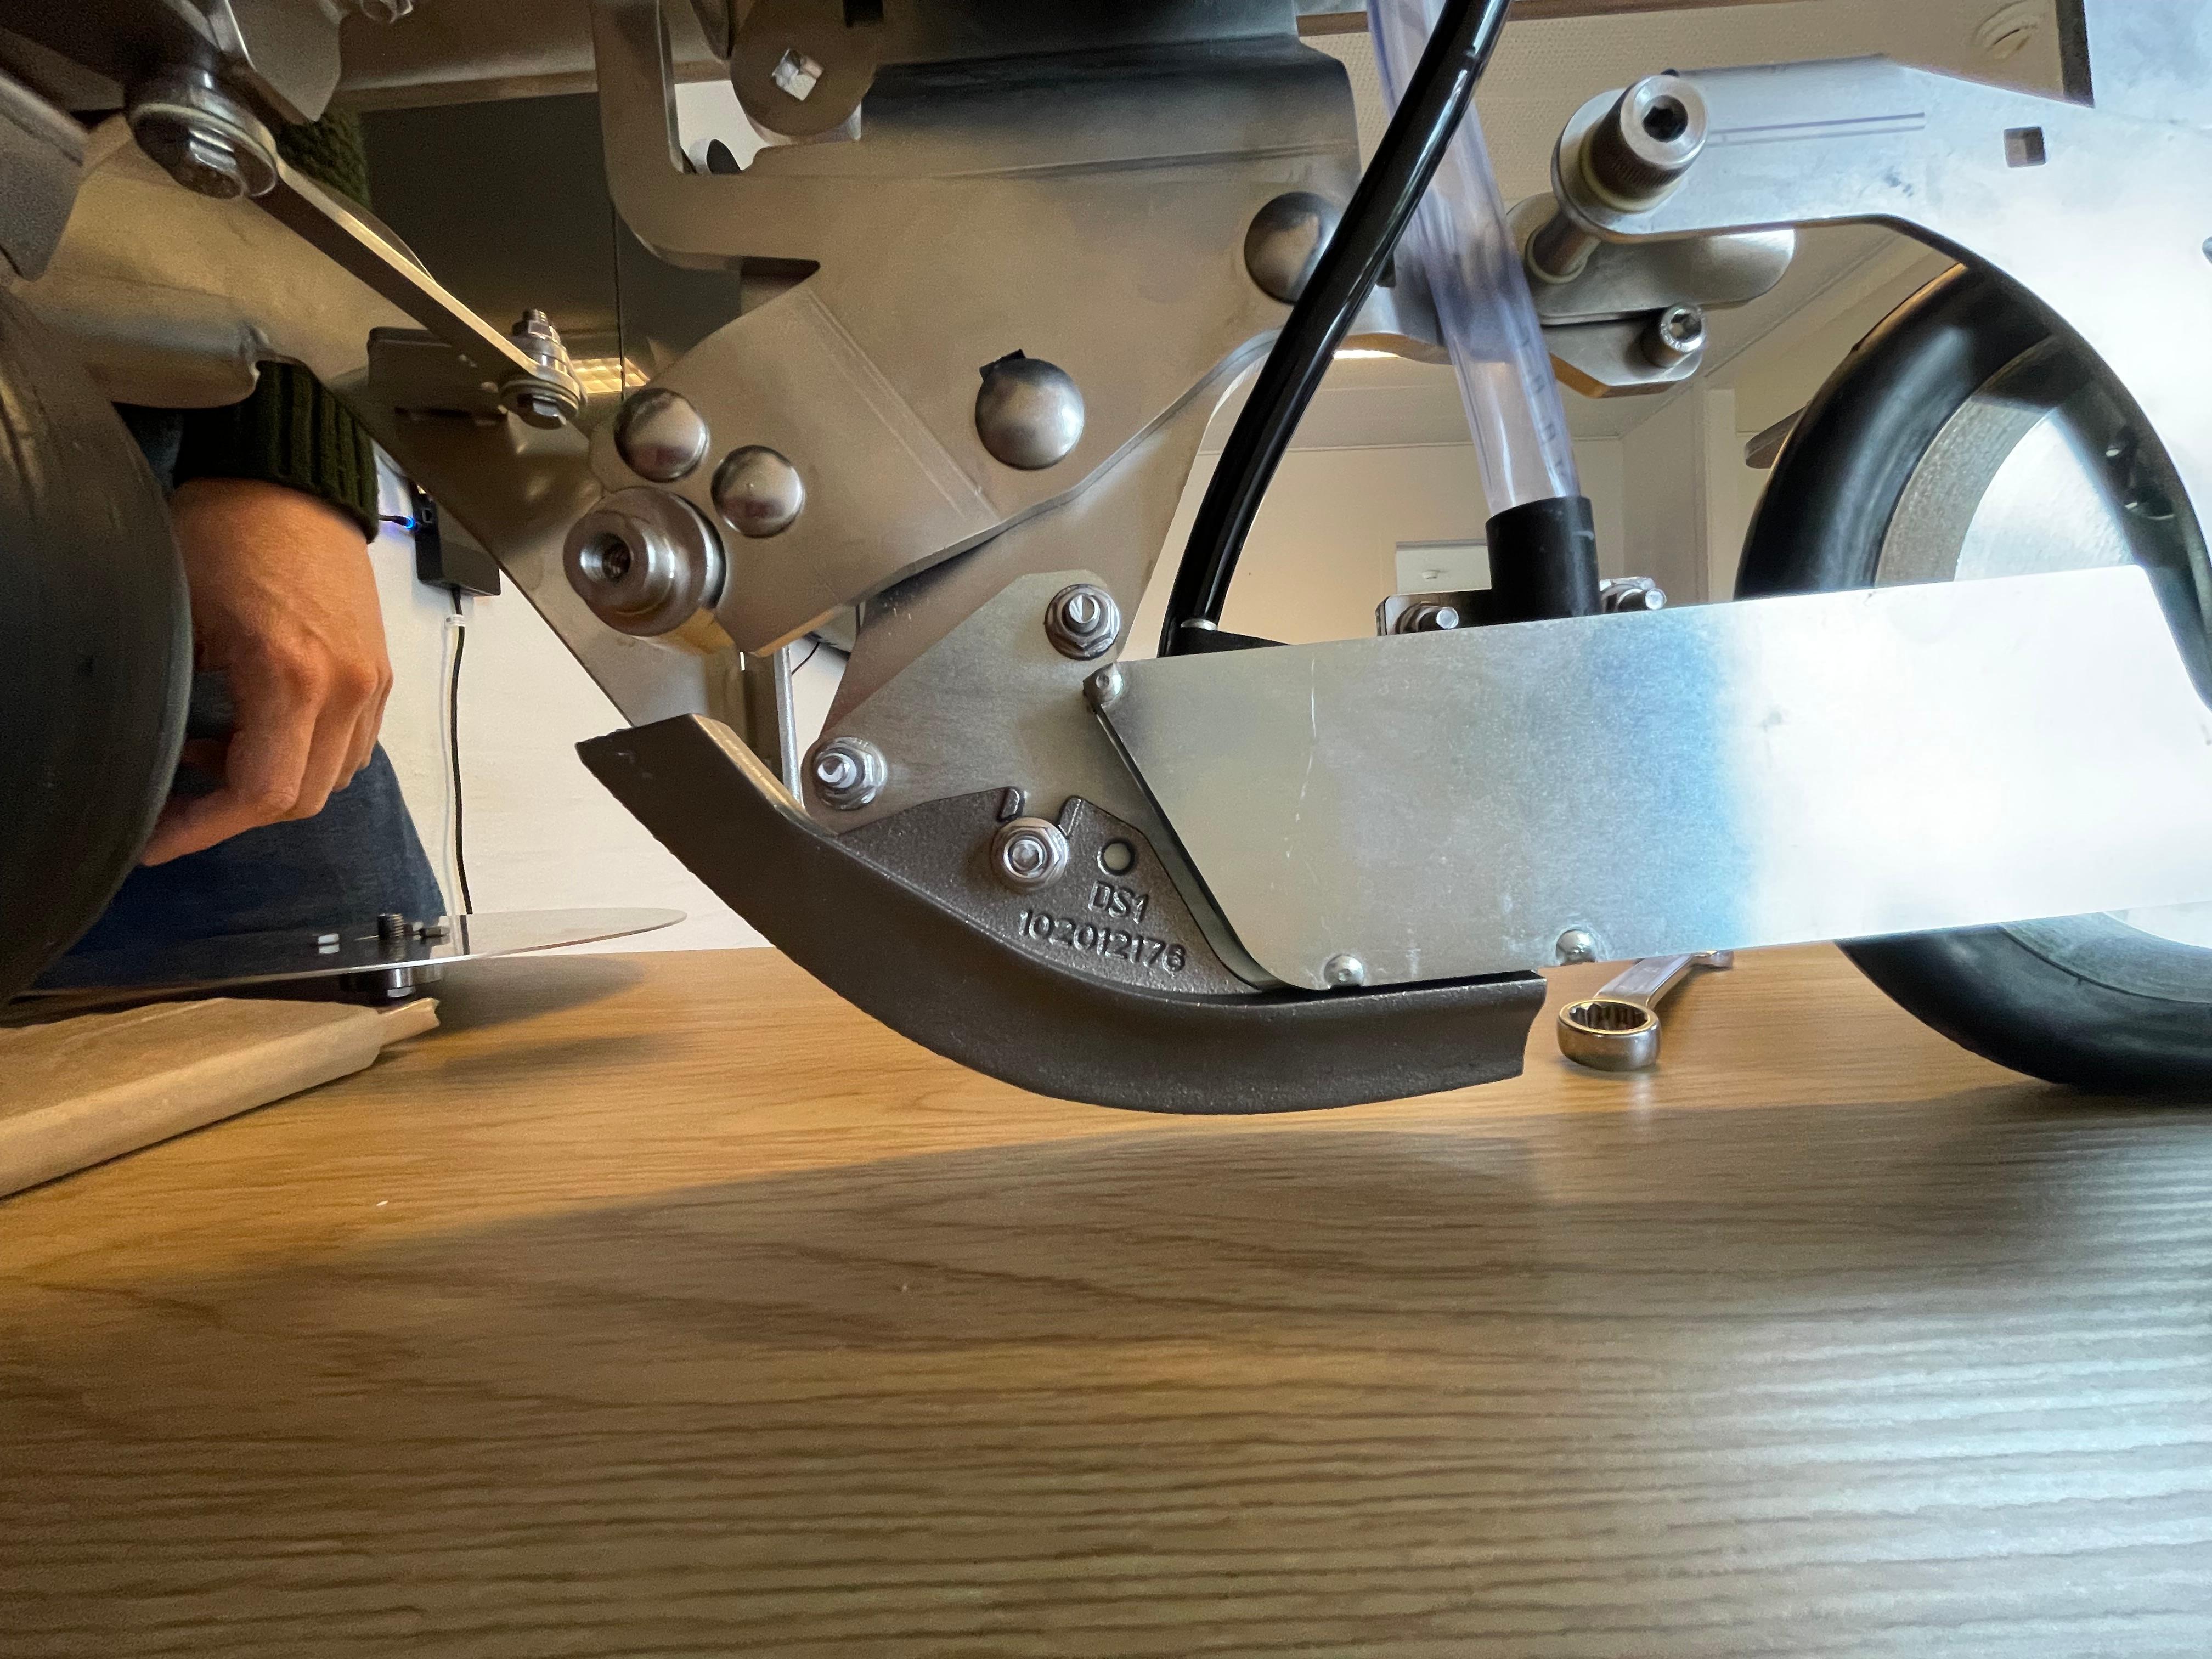
STEP 10
Finally, secure both left and right discs to the roller disc adjustment bracket